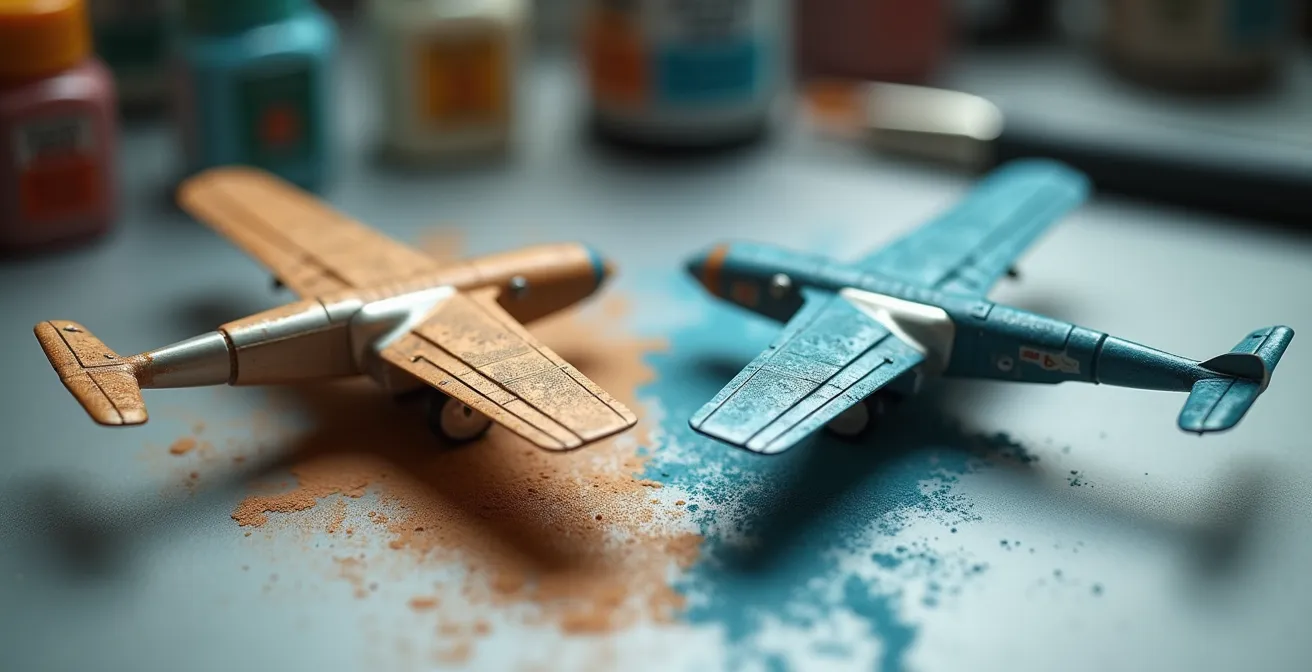
The most realistic exhaust stains come from choosing your tool—airbrush or pigments—based on the specific chemical and physical effect you’re replicating, not just preference.
- Pigments excel at recreating textured, chalky deposits (like lead residue) due to their low particle cohesion.
- Airbrushing is unmatched for applying the smooth, translucent layers required for heat discoloration and fine soot buildup.
Recommendation: Master both. Use a highly thinned airbrush for base thermal discoloration and soot, then apply pigments with a stiff brush for concentrated deposits and final surface texture.
For any scale modeler, the final weathering stages are where a plastic kit transforms into a believable miniature replica. Among the most challenging and rewarding effects to create are engine exhaust stains. Too often, a simple blast of black paint results in a finish that looks more like a toy than a battle-hardened machine. The debate often centers on the best tool for the job: the fine control of an airbrush or the textured realism of pigments. Many modelers simply pick a favorite method and stick with it for every application.
However, this approach overlooks a fundamental truth. A realistic exhaust stain is not a single layer of color; it’s a complex accumulation of different physical and chemical residues. From the initial thermal discoloration of the paint to the final buildup of soot and oil, each component has a unique appearance and texture. Understanding the “why” behind these stains is the key to mastering the “how” of replicating them authentically.
This guide moves beyond a simple “airbrush versus pigments” debate. Instead, we will adopt the mindset of a combustion specialist, breaking down the specific phenomena that create exhaust patterns. By analyzing the physics of heat, the chemistry of combustion byproducts, and the aerodynamics of airflow, we can make informed decisions about which tool is best suited for each distinct effect. This method ensures that every layer you apply contributes to a result that is not just visually interesting, but physically plausible.
This article will guide you through the science and art of creating these effects. We will explore the complex colors of exhaust, the physics of airflow, and specific techniques for building layers with both airbrush and pigments to achieve unparalleled realism.
Summary: Airbrush vs. Pigments: A Specialist’s Guide to Realistic Exhaust Stains
- Grey, Brown, Black: why exhaust stains are rarely just pure black?
- Fixer vs Dry: how to keep exhaust pigments on the model without blowing them off?
- Curved flow: why exhaust stains on Spitfires curve over the wing?
- How to build up soot layers slowly to avoid the “coal powered” look?
- How to replicate the white/tan lead deposits found on high-octane fuel planes?
- How to Spray Soft-Edge Camouflage Freehand Without Splatter?
- How to Control Chipping Fluid to Avoid the “Wrecked Junkyard” Look?
- Jet Age vs Propellers: Which Era Offers the Best Learning Curve for Weathering?
Grey, Brown, Black: why exhaust stains are rarely just pure black?
The first step in moving beyond simplistic exhaust stains is to understand that they are almost never pure black. Real-world exhaust is a cocktail of heat and chemical byproducts that interact with the aircraft’s skin in complex ways. The result is a multi-toned stain, not a monochrome streak. The primary effect is thermal discoloration, where the intense heat from the exhaust gases alters the paint underneath before any soot even touches it. This often manifests as a light grey or faded tint at the very base of the stain, closest to the exhaust port.
On top of this heat-affected zone, the actual combustion residue, or chemical deposition, begins. This is not just simple soot. It’s a mixture of carbon particles, unburnt fuel, and oil vapor. This combination rarely produces a pure black; instead, it creates shades of dark grey, rich browns from oil, and even rusty hues. For instance, a detailed analysis of exhaust patterns on an F6F Hellcat shows that the base paint is discolored to a grey tint, and the primary charcoal-colored soot deposit has a distinct rust color mixed within it. This demonstrates that replicating these colors requires a palette far more nuanced than a single bottle of black paint.
To replicate this, modelers should think in layers. Begin with a light grey airbrushed lightly to simulate the heat-scorched paint. Then, build up translucent layers of tan, brown, and dark grey to represent the oily soot. The key is subtlety and variation. Applying these tones with a highly thinned airbrush mixture allows for a gradual buildup that mimics the real-world process, creating a stain with depth and chromatic interest that pure black can never achieve.
Fixer vs Dry: how to keep exhaust pigments on the model without blowing them off?
When using weathering pigments to replicate the textured, dusty components of an exhaust stain, the primary challenge is ensuring they stay put. This is a question of particle cohesion. Unlike paint, which contains a binder that cures and adheres permanently, pigments are fine, dry powders with no inherent “stickiness.” This presents a dilemma: leave them dry for a perfectly matte, dusty appearance at the risk of them being blown or rubbed off, or secure them with a fixer and risk altering their color and texture.
Applying a fixer is the most common solution. However, spraying it directly can create a “tide mark” or even blow the carefully placed pigments away. The professional technique relies on capillary action. By loading a fine-tipped brush with a small amount of pigment fixer or thinned matte varnish and gently touching the edge of the pigmented area, the liquid will be drawn into the powder without disturbing the surface. This method “wets” the pigments from below, securing them to the model’s substrate with minimal visual change once dry. It’s crucial to use a high-quality, non-glossy fixer to preserve the matte finish.
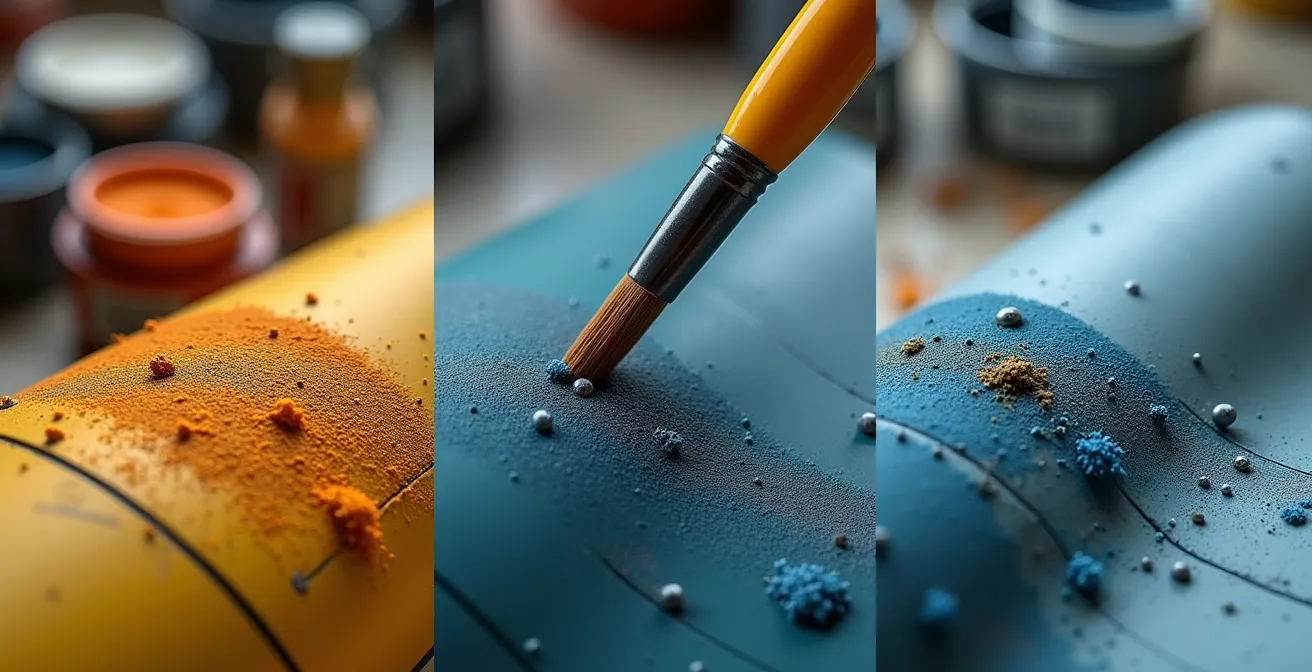
The alternative is the “dry” method, which involves working the pigments into the surface. This is best done over a matte or satin varnish, which provides a microscopic “tooth” for the pigment particles to grip. Using a stiff, short-bristled brush, the pigments are burnished or stippled into the surface. While not as permanent as using a fixer, this method provides superior textural realism, as it avoids any potential darkening or saturation from a liquid binder. The choice depends on the model’s intended use: for a competition piece that will be handled, fixing is essential. For a diorama model that will remain untouched, the dry method often yields a more convincing result.
Curved flow: why exhaust stains on Spitfires curve over the wing?
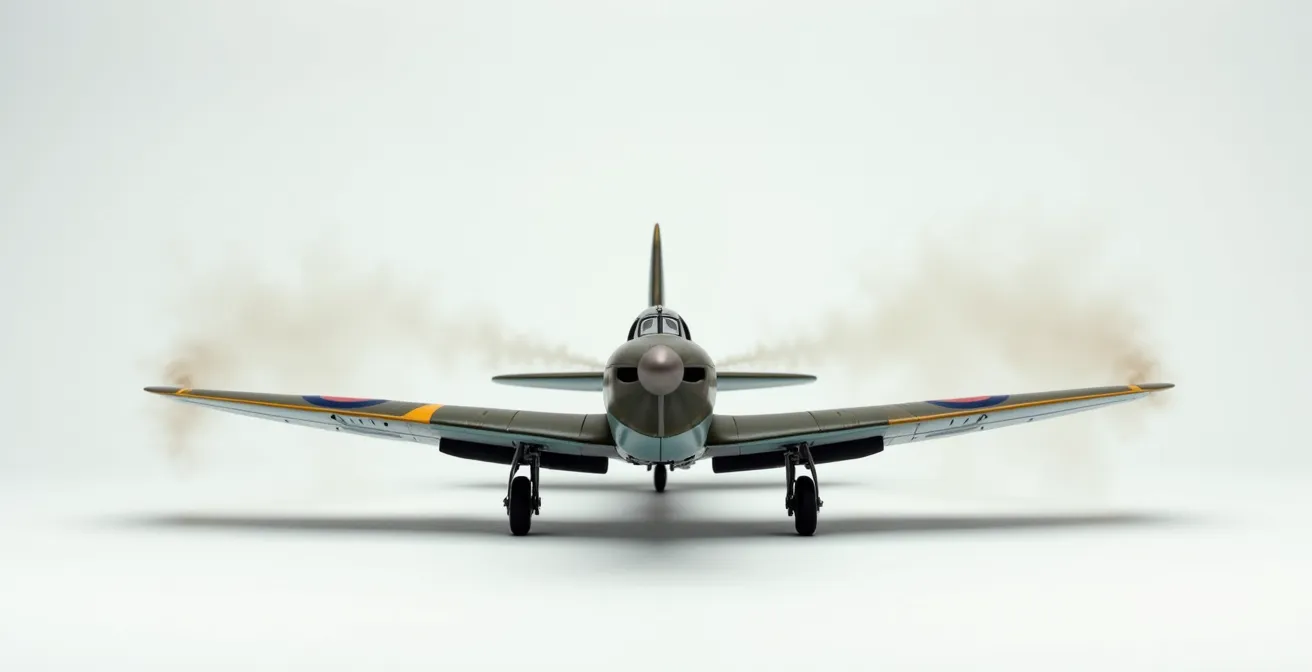
One of the most iconic exhaust patterns in aviation history is the elegant, curved stain on the fuselage of a Supermarine Spitfire. Replicating this requires understanding the aerodynamic flow path that creates it. The stain isn’t simply blown straight back; its trajectory is dictated by a powerful combination of physics. The primary force is the “prop-wash,” the corkscrewing slipstream of air blasted backwards by the propeller. This spiraling airflow wraps around the fuselage, carrying the exhaust with it.
This effect is amplified by a phenomenon known as the Coandă effect, where a fluid jet (in this case, the exhaust and surrounding air) tends to “stick” to a nearby curved surface. The beautifully filleted wing root of the Spitfire acts as the perfect surface for the airflow to attach to, guiding the exhaust stain up and over the wing before it continues down the fuselage. This is in stark contrast to aircraft like the Bf-109, whose side-mounted exhausts and different fuselage shape result in much straighter, more direct streaks. The P-51 Mustang, with its belly scoop, shows yet another distinct downward flow pattern. Each design dictates a unique exhaust signature.
To replicate this curved flow with an airbrush, supreme control is necessary. According to professional scale modeling guidelines, this level of detail is best achieved with very low pressure. Using a highly thinned paint mixture at a pressure of around 8-10 PSI for fine exhaust stains allows the modeler to build up the translucent, curved layers slowly and deliberately. You are not painting a line; you are “drawing” with a gentle, controlled mist of color, following the precise aerodynamic path that physics dictates for that specific airframe.
How to build up soot layers slowly to avoid the “coal powered” look?
The single most common mistake when airbrushing exhaust stains is applying too much paint too quickly. This results in an opaque, harsh black streak that looks cartoonish—the dreaded “coal powered” look. The key to a realistic, translucent soot layer lies in extreme subtlety and patience, a principle best encapsulated by a simple rule. As expert modeler Lincoln Wright explains, the secret is the ‘90% Thinner’ Rule.
The ‘90% Thinner’ Rule for Airbrushing: the key is extremely thin paint (9 parts thinner to 1 part paint). It should look like you’re spraying nothing on the first pass. The color should only appear after 5-6 slow passes
– Lincoln Wright, Paint on Plastic Tutorial
This technique forces a gradual buildup that mimics how soot actually accumulates on an airframe. By using a paint mixture that is mostly thinner, you are depositing only a tiny amount of pigment with each pass. This gives you unparalleled control over the opacity and softness of the stain. The color should be barely perceptible at first, slowly emerging as you apply more layers. This slow process of controlled chemical deposition allows you to stop precisely when the desired effect is achieved, preventing the point of no return where the stain becomes too dark.
Action plan: a guide to translucent soot layering
- Mix your paint at a ratio of 90% thinner to 10% paint; it should appear almost transparent.
- Set your airbrush pressure low, to a maximum of 8-10 PSI for maximum control.
- Always test on a piece of scrap plastic first to check for translucency before applying to the model.
- Apply a minimum of 5-6 slow, deliberate passes before you expect to see any significant color change.
- Stop and assess the effect after each new layer is applied. It is far easier to add more than to remove what is already there.
How to replicate the white/tan lead deposits found on high-octane fuel planes?
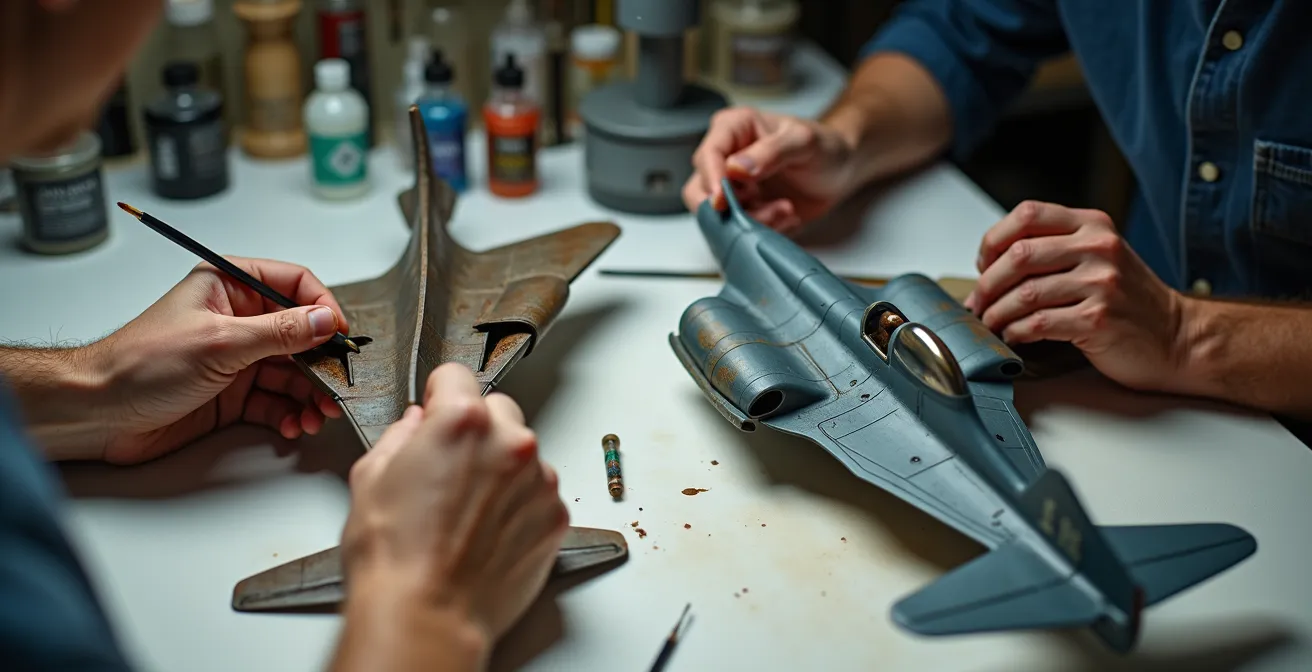
A key detail that separates an expert weathering job from a good one is the replication of specific chemical deposits. On many high-performance piston-engine aircraft from the mid-1930s to the 1950s, a distinctive chalky white or tan residue can be seen concentrated around the exhaust ports. This is not paint fading or random dust; it’s the result of lead bromide deposits, a byproduct of the tetraethyl lead used as an anti-knock agent in high-octane aviation gasoline (Avgas).
Unlike the fine, sooty carbon stains that are best replicated with a thinned airbrush application, these lead deposits have a distinct, slightly thick and chalky texture. This is where pigments become the superior tool. Their dry, powdery nature perfectly mimics the physical properties of these deposits. The goal is to create a concentrated patch of this light-colored residue right at the exhaust exit, layered over the darker soot stains for a striking contrast.
The most effective method for applying this is stippling. Using a short, stiff brush (an old brush with the bristles cut down to about 5mm works perfectly), a small amount of light grey or off-white pigment is picked up. Then, using a gentle dabbing or “stippling” motion, the pigment is applied directly around the exhaust port. You are not “brushing” it on, which would create a smooth streak, but rather tapping it into place to build up a textured layer. This application should be concentrated in the first few scale inches of airflow from the exhaust exit, as the heavier lead particles would deposit quickly. Building the effect up with several light applications rather than one heavy coat is critical for a believable result.
How to Spray Soft-Edge Camouflage Freehand Without Splatter?
While not directly related to exhaust, mastering the freehand airbrushing of soft-edge camouflage is a foundational skill that translates directly to creating subtle weathering effects. The same principles of paint consistency, air pressure, and distance are at play. Achieving a soft, feathered edge without the dreaded “splatter” or “spidering” is a matter of balancing these three variables perfectly. An inconsistent result is almost always a sign that one of these elements is out of sync with the others.
According to established best practices, the ideal starting point for this technique is a specific combination of settings. Many professional modelers recommend using a pressure of around 10-15 PSI, with paint thinned to the consistency of milk, sprayed from a distance of one to two inches from the surface. This combination is delicate: if the paint is too thin or the pressure too high, it will hit the surface too forcefully and “spider” out. If the paint is too thick or the pressure too low, you’ll get a sputtering, uneven spray. If you’re too far away, the paint may begin to dry in the air, resulting in a rough, “gritty” texture.
Troubleshooting is a systematic process of elimination. If you see a specific type of splatter, it points to a specific problem. By identifying the appearance of the flaw, you can adjust the correct variable—paint thickness, air pressure, or distance—to solve it. Practicing on scrap material, such as with a “dagger stroke” exercise (starting and stopping the spray in smooth lines), is essential for developing the muscle memory required for consistent trigger control.
This troubleshooting guide helps diagnose and fix common airbrushing issues when attempting a freehand soft edge.
| Splatter Type | Appearance | Cause | Solution |
|---|---|---|---|
| Spider splatter | Lines radiating from center | Paint too thin or pressure too high | Thicken paint slightly, reduce to 10 PSI |
| Gritty dots | Rough texture dots | Paint drying before hitting surface | Lower pressure, move closer to model |
| Large blobs | Wet spots with runs | Paint too thick or distance too close | Thin paint more, increase distance to 2 inches |
| Uneven coverage | Patchy application | Inconsistent trigger control | Practice ‘dagger stroke’ exercise on paper |
How to Control Chipping Fluid to Avoid the “Wrecked Junkyard” Look?
Just as with exhaust stains, the philosophy of “less is more” is paramount when creating paint chips. The goal is to simulate realistic wear and tear, not to make the aircraft look like it was salvaged from a junkyard. Chipping fluid (and its common alternative, hairspray) is a powerful tool, but its effectiveness lies in control and strategic application. The most common error is applying the fluid over the entire model, which leads to random, oversized chips and an uncontrolled, chaotic finish.
The professional approach is one of strategic planning. Before any fluid is applied, you should study reference photos and decide where chipping would logically occur. These are high-traffic areas: wing leading edges hit by debris, panel fasteners accessed by maintenance crews, cockpit sills worn by pilots’ boots, and designated walkways on the wings. A great technique is to map out these areas lightly with a watercolor pencil, giving you a visual guide. Then, apply the chipping fluid *only* to these specific zones. This targeted approach gives you complete control over where the chipping will happen.
Control also extends to the activation process. Once the top coat of paint is applied over the chipping fluid, you can begin removing it with a stiff brush and water. It’s important to start this process within minutes of the paint being touch-dry, as this gives the most control. Using small tools like a fine brush or a sharpened toothpick allows for the creation of tiny, precise scratches and chips, rather than the large flakes that come from scrubbing with a large brush. As a case study on multi-layer chipping reveals, professional modelers often use chipping fluid only in areas where chipping is needed, actively avoiding areas where masking tape will be applied later to prevent the paint from lifting accidentally. Once the desired effect is achieved, it must be sealed with a clear coat to lock it in place.
Key Takeaways
- Realistic weathering is about choosing the right tool (airbrush or pigment) for the specific physical effect (translucent soot vs. chalky deposit).
- Control is paramount: use highly thinned paint at low PSI for airbrushing and targeted, strategic application for pigments and fluids.
- Propeller-era aircraft offer the most comprehensive “curriculum” for learning weathering, as they feature a wider variety of fluid stains, deposits, and wear.
Jet Age vs Propellers: Which Era Offers the Best Learning Curve for Weathering?
For a modeler looking to master the full spectrum of weathering techniques, the choice of subject matter can significantly impact the learning curve. While modern jets offer sleek lines and a unique set of challenges, it is the propeller-driven aircraft of the World War II era that provide the most comprehensive education. They are, in essence, the perfect “textbook” for learning the craft, as they feature a much wider and more visible range of weathering phenomena.
The primary difference lies in the nature of their propulsion. A piston engine is a comparatively messy internal combustion machine, leaking oil, coolant, and fuel, while spewing a complex mix of soot, lead, and carbon deposits. This results in a rich tapestry of effects for a modeler to replicate. As renowned modeler Diego Quijano notes, “Propeller aircraft feature a wider variety of ‘organic’ fluid stains (oil, fuel, coolant, exhaust), plus paint chipping and fading, offering a complete curriculum in one subject.” In contrast, jet engines are hotter and more efficient, producing weathering that is generally more subtle, focusing on heat discoloration on metallic panels and very fine, dark soot streaks.
This variety makes prop aircraft more forgiving for a beginner, as the effects are more prominent and easier to see. A subtle hydraulic streak on a modern jet can be difficult to render convincingly, whereas a heavy oil stain on a P-47 Thunderbolt is a more straightforward and satisfying project for someone learning to use oils and pigments. This allows a modeler to practice and master the fundamentals—airbrushing soot, stippling pigments for deposits, applying oil washes—all on a single subject.
This comparative table, based on an analysis of weathering across eras, breaks down the learning value of each type of aircraft.
| Aspect | Propeller Era | Jet Age | Learning Value |
|---|---|---|---|
| Exhaust Type | Combustion deposits (soot, lead, oil) | Heat discoloration, fine soot | Props teach variety |
| Stain Patterns | Organic fluid stains, varied colors | Subtle panel lines, hydraulic streaks | Props more forgiving |
| Techniques Required | Pigments, oils, airbrushing | Metallic paints, subtle washes | Props cover fundamentals |
| Weathering Visibility | Prominent, dramatic effects | Subtle, restrained effects | Props better for beginners |
| Materials Diversity | Oil, fuel, coolant, exhaust | Mainly heat effects, minimal fluids | Props offer complete curriculum |
Ultimately, the choice between an airbrush and pigments is a false one. The true path to mastery is understanding the strengths of each and deploying them with purpose. Begin your next build by studying the machine itself, not just your tools, and you will find your results achieve a new level of realism.