In summary:
- Treat mass decaling not as an artistic chore, but as a project to be managed with systems and logic.
- Divide the model into small, manageable sections and work in focused sessions to reduce cognitive load.
- Use a robust tracking method on your instruction sheet to eliminate confusion and prevent errors.
- Understand the physics of silvering to systematically de-risk your application, especially on matte or complex surfaces.
- Employ a clear decision framework to determine when skipping unreadable stencils is acceptable, saving time without sacrificing quality.
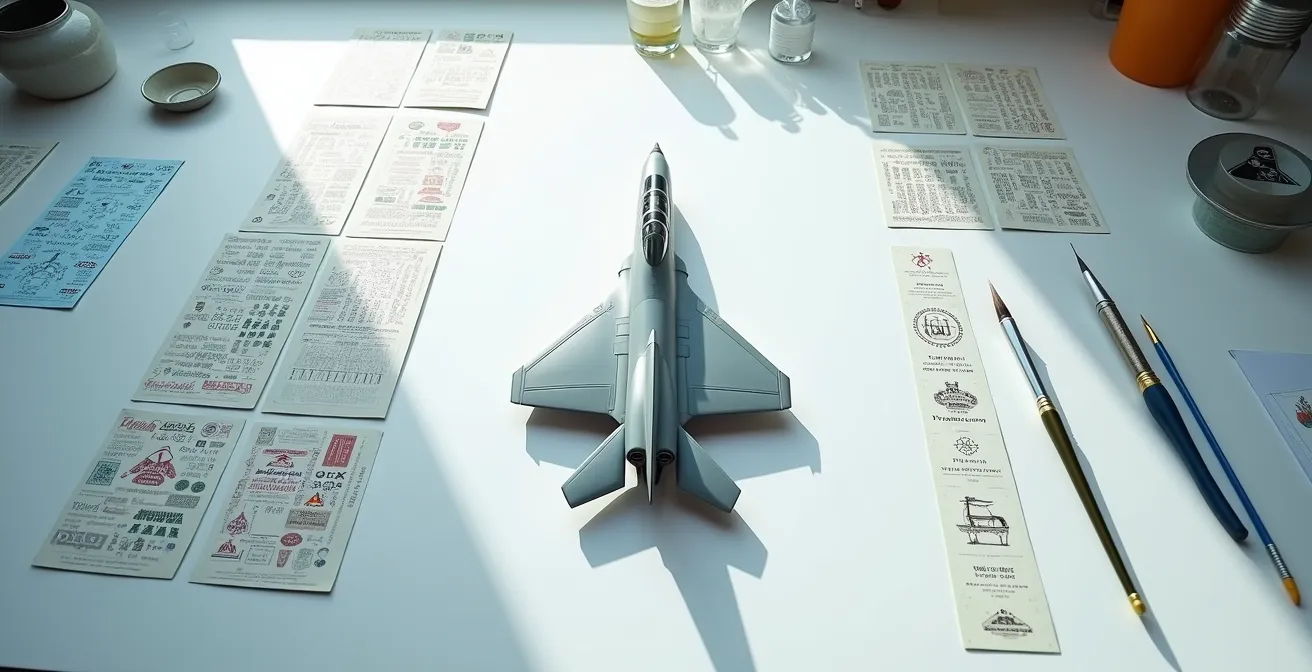
You unbox your new 1/48 scale F-4 Phantom kit. The plastic parts are crisp, the detail is incredible, and then you see it: the decal sheet. It’s a sprawling city of markings, containing over 300 tiny “NO STEP” stencils, warning labels, and data plates. The initial excitement gives way to a sense of dread. This isn’t just a modeling step; it’s an endurance challenge. The common advice is to get a good gloss coat and use setting solutions, but that doesn’t address the core problem: the sheer, mind-numbing volume.
Managing this task is less about artistic skill and more about preventing mental burnout and the careless mistakes that follow. The true challenge is not technical, but psychological. It’s about managing your focus, energy, and motivation over a long, repetitive process. But what if the key wasn’t simply to “be patient,” but to adopt the mindset of a project manager? The secret to conquering the decal sheet lies not in better tools, but in a better system—a structured process designed to minimize cognitive load, reduce decision fatigue, and turn an overwhelming marathon into a series of achievable sprints.
This guide will walk you through that system. We will break down the task into logical phases, from strategic sectioning and tracking to understanding the science behind common failures. You will learn how to optimize your workflow, manage risks, and make informed decisions that preserve both your sanity and the quality of your finished model.
For those who prefer a visual demonstration, the following video shows the fundamental process of applying waterslide decals. It serves as a great practical companion to the strategic project management techniques discussed in this guide.
To navigate this comprehensive approach, here is a breakdown of the strategies we will cover. Each section builds upon the last, creating a complete system for mastering large-scale decaling projects.
Summary: A Project Manager’s Guide to Decal Application
- Section by Section: Why You Should Decal One Wing at a Time?
- Checklist Method: How to Mark off Applied Stencils on the Instruction Sheet?
- Clustering: When to Apply Multiple Stencils Before Applying Setting Solution?
- Why Tiny Stencils Are More Prone to Silvering than Large Markings?
- When is it Acceptable to Skip the Unreadable Stencils?
- Why Clean Models Look like Toys: Adding Authentic Weathering to Scale Aircraft?
- How to Prevent Decal Silvering on Matte Paint Surfaces?
- Jet Age vs Propellers: Which Era Offers the Best Learning Curve for Weathering?
Section by Section: Why You Should Decal One Wing at a Time?
Facing a sheet of 300 stencils is psychologically daunting. The human brain is not wired for sustained focus on highly repetitive, high-precision tasks. This leads to “decal fatigue,” where attention wanes, and mistakes in alignment and placement multiply. The solution is to reframe the task. You are not decaling one model; you are completing several small, distinct projects. This strategy of systematic sectioning is the foundation of decal project management. By breaking the aircraft into logical zones—one wing, the port fuselage, the tail assembly—you transform an undefined marathon into a series of manageable sprints.
This approach has a critical psychological benefit: it creates tangible progress. Finishing a single wing provides a sense of accomplishment that fuels motivation for the next section. It also contains risk. As one case study on an F-15E model demonstrated, even with a perfect gloss coat, unforeseen issues can cause every decal to silver. By working section by section, you can spot such a systemic problem on the first wing (a less visible area, ideally) rather than after decaling the entire model. This allows you to diagnose and correct your surface preparation or technique before the damage is widespread, a core principle of systematic de-risking.
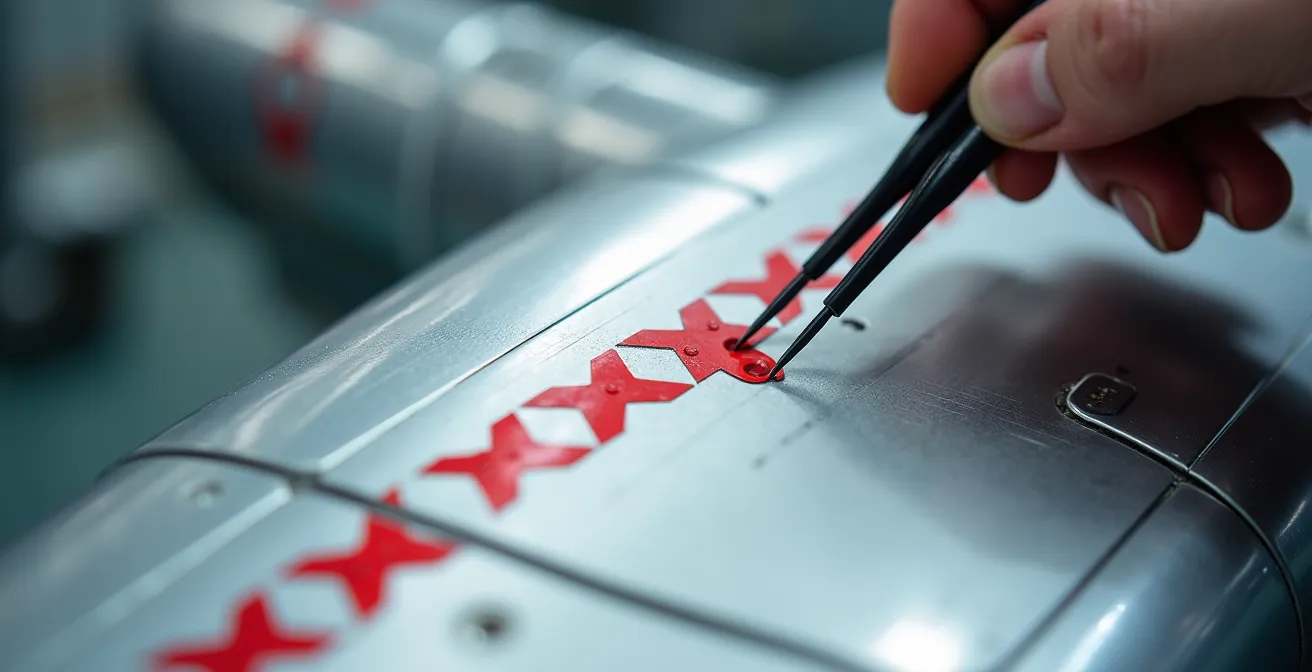
This image illustrates the concept of thematic batching within a section. By focusing on applying a series of identical stencils in one go, you reduce the cognitive load of constantly switching between different decal types and locations. This micro-strategy, applied within your larger sectioning plan, further streamlines the workflow and minimizes the potential for error.
Action Plan: Implementing a Sectioning Strategy
- Define Work Zones: Divide the model into 6-8 logical sections on the instruction sheet (e.g., upper right wing, lower right wing, port fuselage side). Start with bottom surfaces to build confidence in less visible areas.
- Set Time Blocks: Allocate a 25-45 minute “Pomodoro” work session for each section. Commit to focusing solely on that section for the duration.
- Execute One Section: Complete all decals for one defined section within the time block. If you finish early, review your work; do not start the next section.
- Take Mandatory Breaks: After each session, take a 5-10 minute break away from your workbench. This is crucial for resetting your focus and preventing eye strain.
- Track Progress: Once a section is complete and reviewed, mark the entire section as “done” on your instruction sheet. This provides a powerful visual cue of your progress.
Checklist Method: How to Mark off Applied Stencils on the Instruction Sheet?
Once you’ve committed to a section-by-section approach, your most critical tool becomes the instruction sheet itself. It is no longer just a guide; it is your project-tracking document. Failing to accurately track which of the hundreds of stencils have been applied is a primary source of error and frustration. You either miss decals, creating an incomplete look, or waste time searching for a decal you’ve already applied. The goal is to offload this mental tracking from your brain to the paper, freeing up cognitive capacity to focus on the quality of application.
There is no single “best” method; the key is to choose a system and apply it with absolute discipline. A simple checkmark with a pencil is the most direct method, but it can be problematic. You might mark a decal as applied prematurely, only to have it tear or get lost, leaving you with a permanent, incorrect mark on your instructions. A more robust system is a two-stage marking process: use a light pencil dot when the decal is floated into position, and only convert it to a definitive slash or highlight once the setting solution is applied and you are fully satisfied with its placement. This builds a confirmation step into your process, drastically reducing errors.
For extremely complex projects like modern jets, digital methods offer even greater control. Using a tablet and a PDF of the instructions allows you to use layers, color-coding (e.g., yellow for “placed,” green for “set”), and the ability to zoom in without damaging a physical sheet. The right system depends on the project’s complexity and your personal workflow, but a disciplined approach is non-negotiable.
Choosing the right tracking system is crucial for minimizing the cognitive load during a complex decaling project. This analysis, based on a breakdown of different methodologies, can help you select the best fit for your needs.
| Method | Advantages | Disadvantages | Best For |
|---|---|---|---|
| Physical Pencil Marking | No technology needed, immediate | Can damage instruction sheet | Small decal sets |
| Two-Stage System | Prevents premature marking errors | Requires discipline | Complex models |
| Digital Tablet Marking | Zoomable, layered, color-coded | Requires device and setup | Large stencil sets |
| Gamified Progress Bar | Motivating, visual progress | Extra preparation time | Extensive projects |
Clustering: When to Apply Multiple Stencils Before Applying Setting Solution?
With your project broken into sections and a tracking system in place, you can move to optimizing the workflow *within* each section. “Clustering” is the technique of applying several decals in a small area before committing to a final application of setting solution on any of them. The goal is to save time by reducing the number of “apply water, slide decal, apply solution, wait” cycles. However, this is a high-risk, high-reward technique that requires careful judgment. Done correctly, it accelerates progress. Done poorly, you risk decals drying out, shifting, or bumping into each other, creating more work than you saved.
The decision to cluster should be based on a risk assessment matrix. The primary factors are surface geometry, decal size, and ambient conditions. It is relatively safe to cluster three or four small stencils (under 5mm) on a perfectly flat surface, like the top of a wing. The risk increases moderately on gentle curves, where you should limit your cluster to two or three decals. Clustering is extremely high-risk on complex or compound curves, where the decal needs to conform immediately. Furthermore, environmental factors matter; low humidity (below 50%) gives you more working time before the decal’s adhesive dries, making clustering safer. Always monitor the first decal you place in a cluster. If its edges start to dry and lift before you’ve placed the last one, the cluster is too large for the conditions.
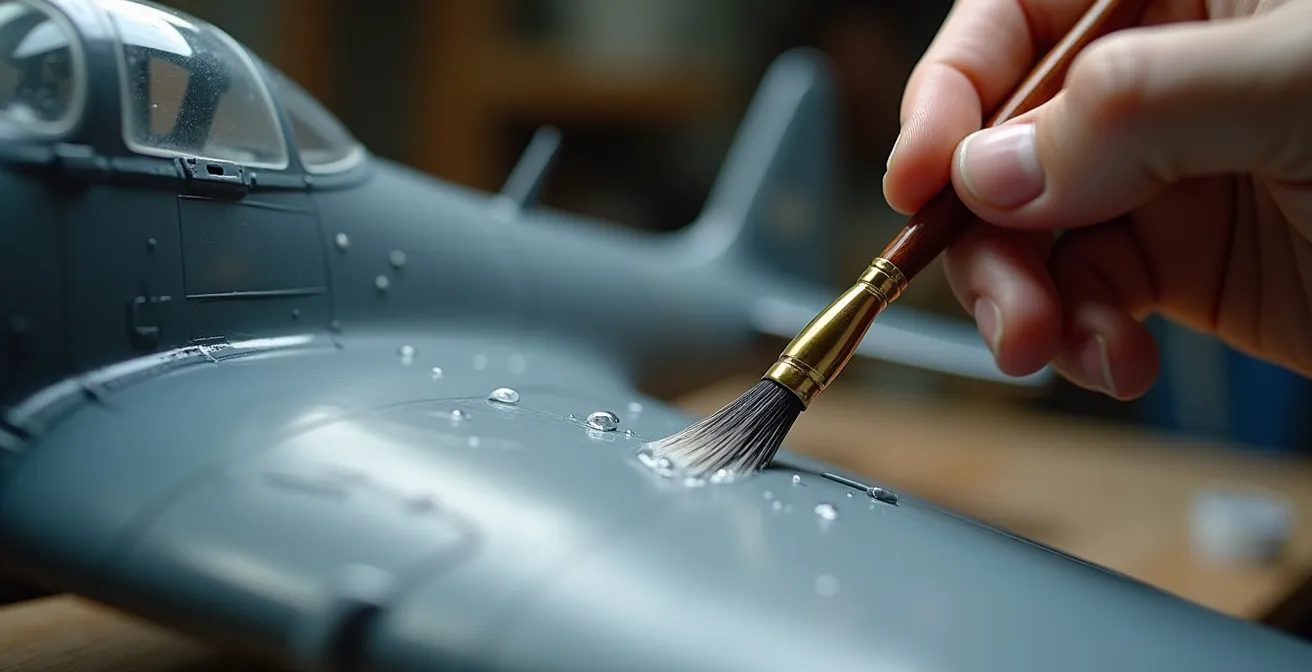
A key technique for successful clustering is creating a “landing zone.” By applying a thin layer of water with a wide, soft brush to the entire area where you plan to place the cluster, you create a uniformly wet surface. This extends your working time and allows you to slide and adjust multiple decals with greater control before any one of them begins to set.
Apply a very thin coat of MS [Micro Sol] to just the outside edge of the wing, allowing the decal to become flexible and ultimately sag a bit. Using a paint brush, gently coax them downward, then flip the model over and finish the application underneath. Once you’re happy with the decal position, add some MS to the entire decal to seal it against the wing.
– Large Scale Planes Tutorial Author, Large Scale Planes Decaling Guide
Why Tiny Stencils Are More Prone to Silvering than Large Markings?
Silvering is the most dreaded and common decal failure. As one experienced modeler noted, “Whenever I attend a modeling contest, the one thing that strikes me as the most obvious modeling mistake continues to be silvered or poorly applied decals.” It appears as a milky or silvery sheen under the decal’s clear carrier film, and it disproportionately affects the tiny stencils that make up the bulk of a modern jet’s markings. To prevent it, you must understand why it happens. Silvering is, simply, trapped air. The clear film is not perfectly adhered to the model’s surface, creating microscopic air pockets that refract light. A perfectly smooth, glossy surface is the primary defense, as it leaves no texture for air to be trapped in.
Tiny stencils are more susceptible for two reasons. First, their small surface area makes them more rigid relative to their size. A large decal has enough mass and flexibility to sag and conform to a surface with the help of setting solutions like Micro Set and Micro Sol. A 2mm stencil, however, has very little surface to “grip” and can easily “tent” over the slightest surface imperfection, creating an air pocket. Second, the ratio of edge to surface area is much higher. This makes them more prone to lifting at the edges, which is where silvering often begins. This problem is exacerbated by the fact that silvering is more obvious on darker colors, which are common on modern military aircraft.
Even with meticulous preparation, micro-silvering can occur. In a documented build of an Academy Black Hawk, a modeler followed every best practice—two coats of Future gloss, 48-hour cure time, and multiple applications of Micro Set/Sol—yet still experienced minute silvering on every single decal. This highlights that for tiny stencils, the margin for error is almost zero. The gloss coat must be flawlessly smooth, like glass, because any microscopic texture can become a potential trap for air under a rigid, tiny stencil.
When is it Acceptable to Skip the Unreadable Stencils?
You have a system for applying stencils, but the ultimate process optimization is elimination. A significant portion of the stencils on a modern jet decal sheet are completely unreadable text, often just gray or black rectangles under 2mm in size. They exist to create “visual noise” and a sense of complexity. Applying every single one can add hours to a project for a negligible return on visual impact. This is where you must switch from a technician to a project manager and make a strategic decision: when is it acceptable to skip stencils? The answer lies in a 3-Factor Decision Framework.
The first factor is Visibility. If a stencil is located on the underside of the aircraft, behind ordnance or landing gear doors, or inside a bay that will be closed, it will almost never be seen. These are prime candidates for omission. The second factor is Visual Impact. Does the stencil contribute to the overall look, or is it just noise? Prominent markings like crew rescue arrows near the cockpit or large national insignia are essential. However, tiny, unreadable panel numbers on the vast surface of a wing can often be selectively omitted without anyone noticing. A good rule of thumb is to consider skipping gray “visual noise” stencils that are under 2mm and not in a focal point area.
The final and most important factor is your Project Goal. Are you building a competition-level model for discerning judges? If so, you must apply every stencil, as their absence may be noted. But if you are building a display piece for your own shelf, you have the creative license to decide where your effort is best spent. Applying 200 stencils instead of 300 might be the difference between a finished model and a project that stalls from burnout. Making this decision consciously and systematically, rather than out of frustration, is the key to maintaining momentum and enjoying the process.
Why Clean Models Look like Toys: Adding Authentic Weathering to Scale Aircraft?
After the immense effort of applying hundreds of stencils, there is a temptation to seal them with a final coat and call the project done. However, this is precisely what separates a realistic miniature from a high-quality toy. A factory-fresh aircraft with pristine, bold markings doesn’t exist in the real world. Authentic weathering is the process of integrating the aircraft and its markings into a cohesive, operational history. The stencils you just applied are not on the aircraft; they are *part of* it. As such, they must be subjected to the same wear and tear as the surrounding paint.
A clean, unweathered decal on a weathered surface is visually jarring. The most effective weathering techniques, like panel line washes and oil paint rendering, should be applied *after* the decals are sealed with another layer of gloss varnish. This protects the decals from the solvents in the weathering products. The wash will then flow around the decal’s carrier film, treating it just like another panel line and instantly making it look like a painted-on marking rather than a sticker. Fading, chipping, and streaking effects should be applied subtly over the stencils, particularly on high-traffic areas where maintenance crews would walk—ironically, often right over the “NO STEP” markings.
The key is subtlety. The goal is not to obliterate the stencil you worked so hard to apply, but to reduce its contrast and make it look like it has endured the same sun, rain, and grime as the rest of the airframe. A light filter of a buff or gray color sprayed in a highly thinned mist over the entire model can unify the paint, the decals, and the initial weathering layers, creating a truly convincing finish. Weathering transforms the stencils from a collection of data points into part of a story.
Key takeaways
- Decal fatigue is a project management problem, not a skill problem; systematic approaches are the solution.
- A flawless gloss coat is non-negotiable, especially for tiny stencils, as it’s the only true defense against silvering.
- Making a conscious, strategic decision to skip certain stencils is a smart way to manage cognitive load and ensure project completion.
How to Prevent Decal Silvering on Matte Paint Surfaces?
Applying decals over a matte paint finish is one of the most challenging aspects of modeling and is a direct path to catastrophic silvering. While a gloss coat is the standard prevention method, sometimes a project’s workflow or a specific paint type results in a less-than-ideal surface. Understanding why matte surfaces are so problematic is key to overcoming the challenge. A matte finish is, by definition, microscopically rough. This texture diffuses light, which is what eliminates shine. However, for a decal, this texture is a landscape of countless mountains and valleys, creating millions of potential air pockets for silvering to occur.
There is no magic bullet to make decals adhere perfectly to a matte surface. The only reliable, professional-grade solution is to not apply decals to a matte surface. You must create an “island” of gloss where the decal will be placed. This is the foundation of the “gloss coat, decal, matte coat” sandwich. Before applying any decals, the entire model must be sealed with a smooth, durable gloss acrylic varnish, like Pledge Floor Gloss (Future) or a dedicated hobby product like Alclad II Aqua Gloss. This fills in the microscopic texture of the matte paint, creating the perfectly smooth surface the decal needs to adhere without trapped air.
After the decals have been applied, set with solution, and allowed to cure for at least 24-48 hours, you apply another gloss coat over them. This second gloss layer completely seals the decal, making its edge invisible and protecting it from subsequent weathering steps. Only after this entire process is complete do you apply your final matte or satin varnish to the entire model. This final coat restores the desired non-reflective finish and unifies the paint, decals, and weathering. Attempting to shortcut this process by applying decals directly to matte paint is the single most common and preventable decaling error.
Jet Age vs Propellers: Which Era Offers the Best Learning Curve for Weathering?
The sheer number of stencils, a problem largely unique to the Jet Age, has a significant impact on a modeler’s journey. It forces a disciplined, systematic approach that, while challenging, provides an excellent foundation for the complexities of weathering. The question of which era, Jet or Propeller, offers a better learning curve is not about which is “easier,” but about what skills are developed at each stage. Building a modern jet like an F-16 or F/A-18 forces you to master surface preparation and process management during the decaling phase. The “decal marathon” teaches patience, precision, and the critical importance of a flawless gloss coat—skills that are directly transferable to advanced weathering.
Conversely, a World War II propeller aircraft, such as a Spitfire or a P-51 Mustang, typically has far fewer stencils. This allows a modeler to move more quickly to the weathering stage. Propeller-era aircraft are often the best canvas for learning the fundamentals of weathering itself: heavy chipping, exhaust stains, fluid leaks, and mud effects. The focus is less on managing hundreds of tiny data points and more on telling a story of operational wear and tear through artistic techniques. You can learn the nuances of oil paint rendering and pigment application without the preceding multi-week decal project.
Ultimately, the Jet Age and the Propeller Era offer complementary learning paths. Tackling a modern jet instills a level of process discipline that makes every subsequent modeling stage more robust. If you can successfully apply 300 stencils without errors, you have developed the focus required for subtle and complex weathering. Starting with propeller aircraft allows for a more immediate and gratifying exploration of weathering artistry. For a modeler looking to develop a complete skill set, alternating between the eras provides the best of both worlds: the project management rigor of the Jet Age and the artistic freedom of the Propeller Era.
By transforming the daunting task of decaling into a structured project, you not only ensure a better final result but also reclaim the enjoyment of the process. Your next model jet can be a source of pride, not a testament to your endurance. The next logical step is to select your next project and build your own systematic decaling plan from the start.