The choice between decals and hand-painting for aircraft nose art isn’t about ease, but about the story you want your model to tell.
- Hand-painting excels at creating a “field-applied” aesthetic, capturing the raw, unofficial nature of real wartime art.
- Custom decals bridge digital precision with physical modeling, ideal for complex or historically precise replications.
Recommendation: Master both—use decals as a base and enhance them with painted details and narrative weathering for the most authentic result.
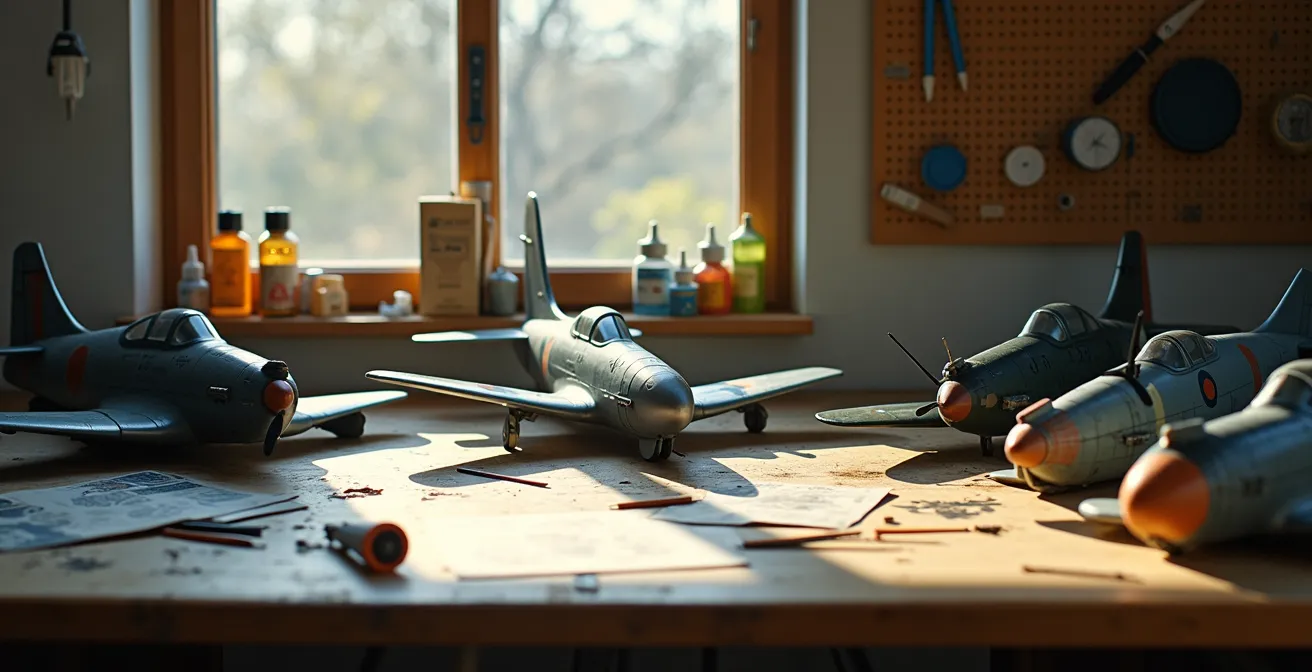
There’s a moment in every aircraft build when the fuselage is assembled, the cockpit is detailed, and the primary paint is laid down. The model looks like an airplane, but it lacks a soul. That soul often arrives with the nose art—the fierce shark mouth, the cheeky pin-up, the mission tally marks. This is where the builder faces a fundamental artistic crossroads: the pristine perfection of a decal versus the intimidating, yet deeply personal, touch of a paintbrush. For the builder aiming to add a custom pin-up or a unique cartoon to a bomber, this decision defines the project’s final character.
The common wisdom suggests a simple trade-off: decals for complexity, paint for simplicity. But this view misses the point entirely. It treats the process as a mere technical step rather than an artistic expression. The true question a miniaturist artist must ask is not “Which is easier?” but “What story am I trying to tell?” Are you a documentarian, replicating a factory-fresh design with flawless precision? Or are you a storyteller, channeling the spirit of a wartime crew chief who painted a masterpiece on a curved aluminum panel with whatever supplies were on hand?
This guide reframes the decal-versus-paint debate. We will not offer a single “best” method. Instead, we will explore the artistic potential and technical mastery required for both paths. We’ll delve into the nuances of brushwork for capturing lifelike skin tones and the modern magic of custom decal printing. We will also navigate the challenges of applying flat art to curved surfaces, the ethical considerations of historical subjects, and the subtle art of weathering that transforms a model from a static display into a narrative piece. This is about choosing your role and executing your vision with intent.
This article provides a complete framework for making an informed artistic choice. The following sections break down every critical aspect of replicating nose art, from foundational skills to advanced finishing techniques.
Summary: Replicating Hand-Painted Nose Art: Decals or Paint Brush?
- Brush Mastery: How to Paint Skin Tones on a 1:How to Start Building Static Aircraft Models Without Spending Over $100?
- White Backing: Why You Need White Toner to Print Nose Art on Clear Film?
- How to Wrap a Flat Nose Art Decal Around a Compound Curve Nose?
- Historical Accuracy vs Display Friendly: Dealing with Offensive Historical Art?
- How to Chip the Nose Art Specifically to Show It Was Painted in the Field?
- How to Prevent Decal Silvering on Matte Paint Surfaces?
- How to Research a Specific Pilot’s Plane When Official Records Are Missing?
- How to Control Chipping Fluid to Avoid the “Wrecked Junkyard” Look?
Brush Mastery: How to Paint Skin Tones on a 1:How to Start Building Static Aircraft Models Without Spending Over $100?
For the artist aiming to capture the “field-applied” aesthetic, the paintbrush is the ultimate tool. Hand-painting nose art, especially figurative work like pin-ups, is a declaration of skill. It’s not about achieving the sterile perfection of a printed image; it’s about imbuing the model with a human touch, complete with subtle imperfections that tell a story. The greatest challenge—and reward—lies in painting realistic skin tones. This requires an understanding of layering, glazing, and color theory, turning a few square millimeters of plastic into a canvas for portraiture.
The choice of paint is your first artistic decision. Acrylics and enamels each offer distinct properties that affect the outcome. A miniaturist must understand these differences to select the right medium for their intended effect, from rapid layering to smooth, subtle blending.
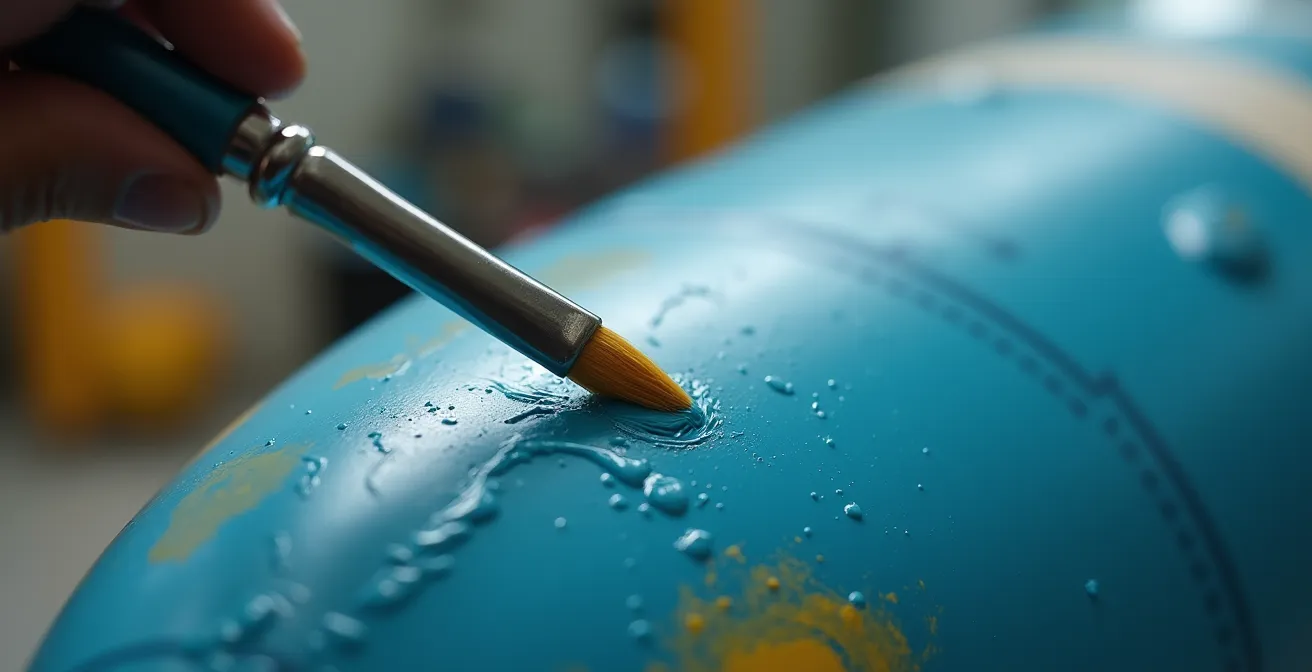
This macro view demonstrates the direct connection between the artist’s hand and the model’s surface. Achieving realistic skin requires a methodical process of building up tones from a base coat, adding shadows, and creating highlights. The goal is to create depth and life, a far cry from a flat, single-color decal. Using thin, transparent layers (glazes) is key, allowing underlying colors to influence the final appearance and create a luminous, lifelike quality.
This table breaks down the fundamental differences between the two most common paint types for this delicate work.
| Property | Acrylic Paint | Enamel Paint | Best for Nose Art |
|---|---|---|---|
| Drying Time | 15-30 minutes | 2-24 hours | Acrylics for layering |
| Blending Capability | Limited window | Extended working time | Enamels for smooth gradients |
| Brush Strokes | More visible | Self-leveling | Enamels for field-applied look |
| Cleanup | Water/alcohol | Mineral spirits | Acrylics for convenience |
| Adhesion to Decals | Good with primer | Excellent | Enamels over decals |
White Backing: Why You Need White Toner to Print Nose Art on Clear Film?
The decal path offers precision and repeatability, a perfect solution for complex graphics or ensuring historical accuracy. However, creating your own custom decals introduces a significant technical hurdle: the problem of color and transparency. Standard inkjet and laser printers do not print the color white. They assume the white of the paper will show through. When you print on clear decal film, any white areas in your design simply become transparent, and other colors will appear translucent and washed-out when applied over a dark paint scheme. This is where the magic of white toner becomes essential.
Historically, the “holy grail” for modelers was the ALPS MicroDry printer, which could print white and other opaque colors. However, this technology is long obsolete. As one case study on decal printing technology notes, “ALPS stopped supporting MicroDry printers outside Japan in 2007, and the last MicroDry model ceased sales in 2010.” Finding a working ALPS printer today is a challenge, and consumables are even scarcer.
Fortunately, modern solutions have emerged. Companies like Ghost White Toner offer specialized white toner cartridges for a range of common laser printers. This technology provides the critical opaque white underlayer needed for vibrant custom decals. By printing the white layer first and then the color layer on top, your custom nose art will have the same punch and solidity as a commercial screen-printed decal. While setting up a white toner system involves an initial investment, it provides unparalleled creative freedom. It’s the ultimate digital-to-physical bridge, allowing you to design intricate art on a computer and transfer it flawlessly to your model. According to current market pricing for white printing solutions, while old ALPS printers can cost $250-$700 used, a modern Ghost White Toner cartridge can start as low as $89, making home-production more accessible than ever.
How to Wrap a Flat Nose Art Decal Around a Compound Curve Nose?
Whether you’re using a kit-supplied decal or one you’ve printed yourself, you will inevitably face the greatest geometric challenge in modeling: convincing a flat, two-dimensional object to conform to a three-dimensional compound curve. The nose of a B-17 or the cheek of a P-40 are not simple cylinders; they are complex shapes that will cause any large decal to wrinkle, fold, and trap air. This is where your skill as a modeler is truly tested. It is a battle against physics, and your best weapons are heat, chemistry, and patience.
The key to success lies in making the decal film as pliable as possible and giving it no reason to misbehave. The surface must be impeccably smooth; a gloss coat is not optional, it is mandatory. Any microscopic texture from matte paint will trap air, leading to the dreaded “silvering” effect. Decal setting and softening solutions are chemical agents that, respectively, improve adhesion and temporarily melt the decal film, allowing it to sink into panel lines and wrap around curves. Using them effectively is an art form. Too little, and the decal remains stiff; too much, and you risk destroying it completely. Even with perfect technique, wrinkles can appear. But don’t panic; with the right approach, even severe wrinkles can be tamed, and experienced modelers report a 60-70% success rate when repairing badly wrinkled decals using iterative applications of softening solution and careful pressing.
Action Plan: Taming Decals on Compound Curves
- Prepare the Canvas: Apply a smooth, uniform gloss coat over the target area and allow it to fully cure. This eliminates surface texture, the primary cause of silvering.
- Prep the Decal: Make small, strategic relief cuts in the decal’s clear carrier film (not the art itself) where stress is anticipated. Use warm, not hot, water to make the decal more pliable.
- Initial Application: Apply a decal setting solution (e.g., Micro-Set) to the model’s surface. Slide the decal into position while the surface is still wet to allow for fine adjustments.
- Conform the Shape: Gently blot away excess water. Apply a decal softening solution (e.g., Micro-Sol) and let it work. Use a cotton swab dipped in hot water to gently press the decal onto the surface, working from the center outwards.
- Troubleshoot and Cure: If air bubbles or wrinkles persist, prick them with a sharp needle and re-apply softening solution. Allow the decal to dry for 12-24 hours; many wrinkles will shrink and disappear during this curing process.
Historical Accuracy vs Display Friendly: Dealing with Offensive Historical Art?
As a miniaturist artist, your work is not just a replication; it’s a curation. When dealing with historical subjects, particularly the unofficial “folk art” of military nose art, you will encounter themes and imagery that were products of their time. Some of this art can be considered offensive by modern standards. This presents an ethical and artistic dilemma: do you pursue absolute historical accuracy, warts and all, or do you modify the subject to be more “display friendly”? There is no single right answer; it is a matter of personal artistic intent.
It’s important to understand the context of this art. As Wikipedia contributors on the subject state in their analysis, “The appeal, in part, came from nose art not being officially approved… Because of its individual and unofficial nature, it is considered folk art, inseparable from work as well as representative of a group.” To erase or alter it is, in a sense, to censor a historical artifact. However, your model will exist in the present day, perhaps displayed in a home or a competition where context is lost. An artist must weigh their responsibility as a historian against their role as a creator of an object for display.

If you choose to be historically accurate, one powerful approach is to provide context. A small, museum-style card placed with the model can explain the art’s significance, the period attitudes it reflects, and your reasons for depicting it faithfully. If you choose to alter the art, there are creative ways to do so. You could research period-appropriate censorship that was actually used during the war, design a plausible alternative based on common themes, or use digital tools to modify a decal design before printing. The key is to make a conscious, informed decision and be prepared to explain it as part of your model’s story.
How to Chip the Nose Art Specifically to Show It Was Painted in the Field?
Weathering is not just about making a model look dirty; it’s about telling its life story. The most masterful artists use weathering to build a narrative, and nowhere is this more critical than with nose art. A key element of the “field-applied aesthetic” is showing that the art was painted over the factory camouflage, often with minimal surface preparation. This means it would wear and chip very differently from the original paint. Replicating this effect requires moving beyond generic chipping techniques and adopting a more surgical, story-driven approach.
Factory-applied paint is baked on over a primed surface; it wears down slowly from abrasion and chips in response to impacts. Field-applied art, however, was often painted with whatever was available, directly onto a potentially dirty or oily surface. This paint would be prone to flaking and delaminating in large, irregular sections, especially at the edges of the artwork where the paint layer is thinnest. To replicate this, you must differentiate your techniques. An expert case study on weathering points out this narrative potential, noting that on real aircraft, you can see evidence of this effect. One example of a CA National Guard UH60 Blackhawk shows uneven paint application where lettering is worn and has been repainted, telling a clear story of field maintenance. To achieve this, you must select the right chipping method for the story you want to tell.
The following table compares various chipping methods and their ideal narrative applications, helping you choose the right tool for creating a believable “field-applied” look.
| Technique | Effect Created | Best For | Tool Required |
|---|---|---|---|
| Salt Masking | Fine, irregular chips | Field-applied art | Fine salt grains |
| Hairspray Method | Delicate flaking | Thin paint layers | Hairspray, water |
| Chipping Fluid | Large chips | Factory paint | Commercial fluid |
| Reverse Chipping | Controlled chips | Precise placement | Fine brush |
| Sponge Technique | Random wear | Overall weathering | Torn sponge |
How to Prevent Decal Silvering on Matte Paint Surfaces?
There is no greater frustration for a modeler than to apply a decal perfectly, only to have it dry with milky, silvery patches underneath. This phenomenon, known as silvering, can ruin an otherwise flawless finish. The cause is simple and singular: microscopic air bubbles trapped between the decal film and the model’s surface. While it can happen on any surface, it is virtually guaranteed on matte paint. The rough, porous texture of a matte finish creates a landscape of peaks and valleys, making it impossible for the decal to adhere fully, thus trapping air.
Preventing silvering is not about a single magic trick but about a systematic process often called the “gloss coat sandwich.” The principle is to create an impeccably smooth surface for the decal to adhere to, then seal it in before returning the finish to its final matte or satin sheen. The absolute best tool for this is a gloss clear coat. Many modelers swear by acrylic floor polishes like Pledge Floor Gloss (formerly Future), which can be airbrushed or hand-brushed to create a hard, self-leveling, and perfectly smooth foundation.
The process is methodical. First, you apply the gloss coat only where the decals will be placed. After it cures completely, you apply the decals using setting solutions to ensure they conform to every detail. Once the decals are dry, you must inspect them carefully for any signs of silvering. If any are found, a careful slit with a sharp scalpel blade and another application of setting solution can allow the solution to wick underneath and eliminate the trapped air. Finally, another light gloss coat is applied over the decals to seal them completely. This encapsulates the decal, making its edges disappear. Only after this entire process is complete should you apply your final matte or satin varnish to the entire model to unify the sheen.
How to Research a Specific Pilot’s Plane When Official Records Are Missing?
The ultimate act of personalization is to replicate the specific aircraft of a particular pilot or crew. This transforms the model from a generic representation into a historical tribute. But what happens when official records are scarce, and the one blurry photo you can find doesn’t show the nose art clearly? This is where the modeler becomes a detective, piecing together clues from a variety of unconventional sources. The digital age has opened up incredible avenues for this kind of forensic research.
Your search should begin with the plane’s unit. Squadron association websites and, increasingly, Facebook groups are treasure troves of information. These communities are often populated by veterans, their families, and dedicated historians who share personal photo albums and anecdotal memories that are not found in any official archive. Furthermore, specialized modeling forums like Britmodeller or Large Scale Planes have dedicated members with deep knowledge who are often willing to help with research requests. When asking for help, it’s crucial to present the research you’ve already done; this shows you’re serious and makes it easier for experts to fill in the gaps.
Do not underestimate the power of human connection. Aviation museums are staffed by passionate volunteers, many of whom are veterans themselves. As one observer noted about these invaluable resources, “The museum is stocked with volunteers, many of them Vets, who, if asked, will tell you one of a million stories… They’re eager to share, and infinitely enthused.” A polite email or a visit can often unlock details, stories, or even photos from un-digitized private collections. This detective work is a rewarding part of the hobby, connecting you more deeply with the history behind your build.
Key Takeaways
- The choice between decals and hand-painting for nose art is a narrative one, not just a technical step.
- A gloss coat ‘sandwich’—gloss, decal, gloss—is the non-negotiable method for preventing decal silvering on any surface.
- Weathering must be specific and tell a story: field-applied art flakes and peels, while factory paint wears and chips from abrasion.
How to Control Chipping Fluid to Avoid the “Wrecked Junkyard” Look?
In the pursuit of realism, there’s a fine line between “weathered” and “wrecked.” This is especially true when using modern chipping products or the hairspray technique. These methods are incredibly effective at creating realistic paint chips, but they are also notoriously difficult to control. A moment of over-enthusiasm can lead to a “chain reaction,” causing huge sections of paint to flake off and leaving your model looking like it was pulled from a scrapyard. The key to mastering this technique lies not in aggression, but in restraint and control. An artist knows when to stop.
The most effective strategy for control is the “activation map.” Instead of applying the chipping fluid or hairspray over the entire model, you apply it only in the specific areas where you want heavy chipping to occur—panel edges, high-traffic areas, and around fasteners. After applying your top coat of color, you then activate the chipping effect by moistening the surface with water. By using a fine brush to apply water only to your pre-mapped areas, you maintain precise control over where and how much the paint chips. As the master modelers at Models By BD advise,
Stopping before you’re done is key, because once you start throwing decals and clear coats and weathering on it, it tends to even out.
– Models By BD, Creating Subtle Shading Tutorial
Work in small, manageable sections. Chip an area to about 50% of the desired final effect, then stop, let it dry completely, and reassess. This pause prevents the chain reaction and allows you to build up the effect gradually. It’s always easier to add more weathering later than it is to undo what has been overdone. This controlled, deliberate approach is what separates a thoughtful artist from a random vandal. It ensures your weathering serves the narrative of the model, rather than overwhelming it.
Ultimately, whether you choose the precise path of the decal or the expressive freedom of the brush, your goal is the same: to breathe life and character into your creation. Apply these techniques not as rigid rules, but as tools in your artistic arsenal, and start telling more compelling stories with your models today.