The key to authentic weathering is not speed, but control; oil paints provide an extended, forgiving working window that acrylics simply cannot offer.
- Oils cure through slow oxidation, allowing you to blend, correct, and subtract paint for up to 48 hours.
- Acrylics dry via rapid evaporation, locking in mistakes and creating unnatural “tide marks” in minutes.
Recommendation: Embrace oil paints as a sculptural medium. Use their slow-drying nature to build layers of history on your model, transforming it from a toy into a realistic replica.
Every model painter has felt that spike of panic. You apply an acrylic wash, hoping for subtle grime in the panel lines, but it dries too fast. It leaves a stark, ugly “tide mark” ringing the area, a coffee-stain testament to a process that moved quicker than your brush. You try to fix it, but the paint is already locked into the surface, a permanent scar on your work. This frustration—the race against the clock, the unforgiving nature of a fast-drying medium—is the common wall that many builders hit. The conventional wisdom is to keep practicing with acrylics, to be faster, to be more precise.
But what if the problem isn’t your technique, but your tool? What if the secret to truly masterful grime effects isn’t about working faster, but about embracing a medium that allows you to slow down, to think, and to sculpt? This is the fundamental shift in philosophy that oil paints offer. They move beyond being a simple coloring agent and become a medium of artistic control. Where acrylics force a rushed, often irreversible application, oils invite you into a patient, deliberate process of addition and subtraction. It’s a transition from merely staining a surface to genuinely sculpting layers of dirt, dust, and history onto your canvas.
This guide is not just another set of instructions; it is a new perspective. We will delve into why the very chemistry of oil paint—its slow oxidation process—is its greatest strength. We will explore the practical techniques this “forgiving window” unlocks, from creating flawless panel lines to rendering the most delicate rain streaks. By understanding the art and science behind oil weathering, you will leave behind the frustration of acrylics and discover a more profound, more artistic approach to bringing your scale models to life.
For those who prefer a visual demonstration, the following video tutorial provides an excellent overview of the core principles of weathering with oil colours, complementing the in-depth techniques discussed in this guide.
To fully master this artistic approach, it is essential to understand both the tools and the techniques. This article breaks down the process, guiding you from the fundamental choice of materials to the advanced philosophies of creating a truly believable finish. Explore the sections below to build your expertise step by step.
Summary: A Master’s Guide to Weathering with Oil Paints
- Odorless Mineral Spirits vs Turpentine: which thinner won’t eat your plastic?
- How to cover the whole model and wipe it off for panel line definition?
- How to drag dots of oil paint to create vertical rain streaks?
- Why you can’t put an oil wash over an enamel base coat?
- The 24-hour window: why oils are forgiving and removable the next day?
- Raised vs Recessed Panel Lines: How to Handle Older Kits for a Modern Look?
- Airbrush or Pigments: Which Creates the Most Realistic Exhaust Stains?
- Why Clean Models Look like Toys: Adding Authentic Weathering to Scale Aircraft?
Odorless Mineral Spirits vs Turpentine: which thinner won’t eat your plastic?
The first step in any artistic endeavor is choosing the right tools, and for oil weathering, your thinner is as important as your paint. The world of solvents is vast, but for a modeler, the primary concern is effectiveness without destruction. Many builders fear oils because they associate them with “hot” thinners like traditional turpentine or lacquer thinner, which can craze, melt, or completely destroy styrene plastic. This fear is valid but misplaced; the solution lies in selecting the correct, plastic-safe solvent.
The key is to understand that not all solvents are created equal. Your goal is a thinner that dissolves oil paint but is chemically inert to your model’s surface and the acrylic clear coat protecting it. Odorless mineral spirits (OMS) are the industry standard for this task. They have enough power to thin oils for washes and blending but a low enough “heat” that they won’t harm the underlying plastic or acrylic varnish. For an even safer and more refined experience, many professional artists and modelers turn to artist-grade solvents like Gamsol. These are highly purified forms of mineral spirits with even lower odor and a slower evaporation rate, giving you more time to work your effects.
The following chart illustrates the spectrum of common solvents and their relative safety for plastic models, providing a clear guide for your choices. As you can see, the difference between a safe outcome and a ruined model is dramatic.
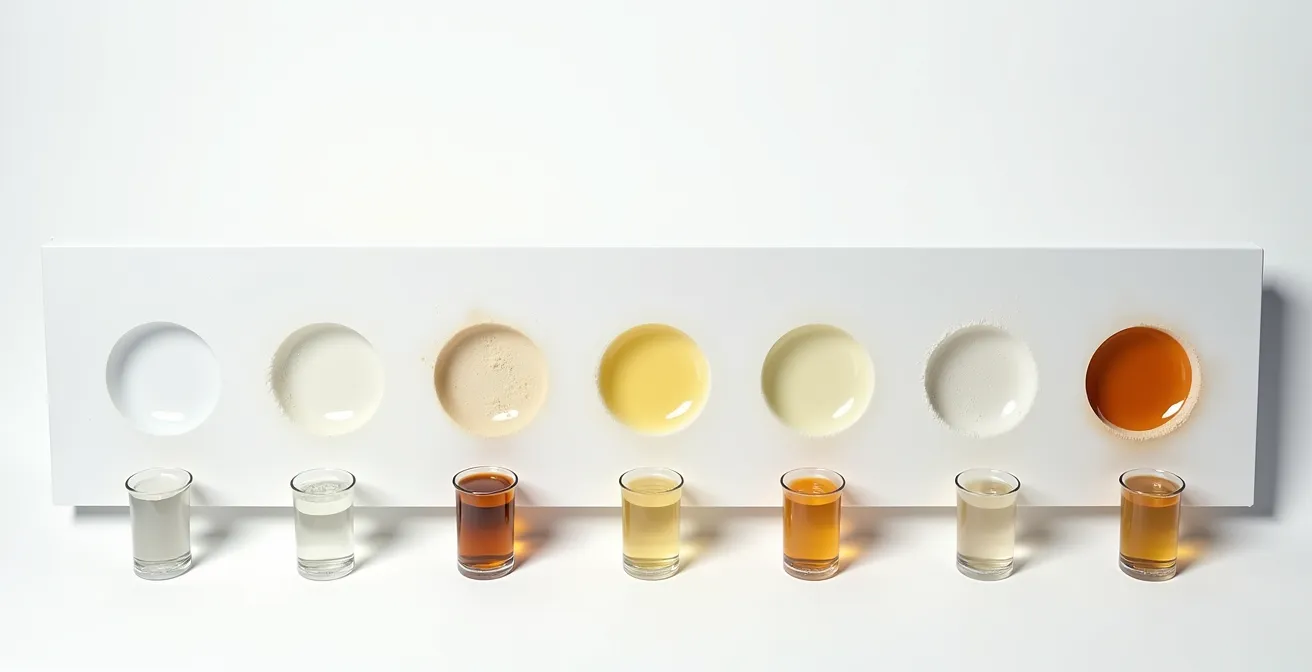
This visual evidence underscores the importance of your selection. While hardware store white spirit might seem like a bargain, its faster evaporation and higher impurity content make it a riskier choice. The data from a comparative analysis of solvents clearly shows where each product sits on the safety spectrum.
| Solvent Type | Safety for Plastic | Evaporation Rate | Odor Level | Recommended Use |
|---|---|---|---|---|
| Water | 100% Safe | Slow | None | Acrylic thinning only |
| Odorless Mineral Spirits | 95% Safe | Moderate | Minimal | Oil weathering, panel washes |
| Gamsol | 95% Safe | Slow | Very Low | Professional oil techniques |
| White Spirit | 80% Safe | Fast | Moderate | Quick cleaning, basic washes |
| Turpentine | 60% Safe | Fast | Strong | Traditional oil painting (avoid on models) |
| Lacquer Thinner | 20% Safe | Very Fast | Very Strong | Never use on styrene |
Ultimately, investing in a quality odorless mineral spirit or an artist-grade solvent is investing in peace of mind. It removes the fear of damaging your model and allows you to focus entirely on the creative process of weathering.
How to cover the whole model and wipe it off for panel line definition?
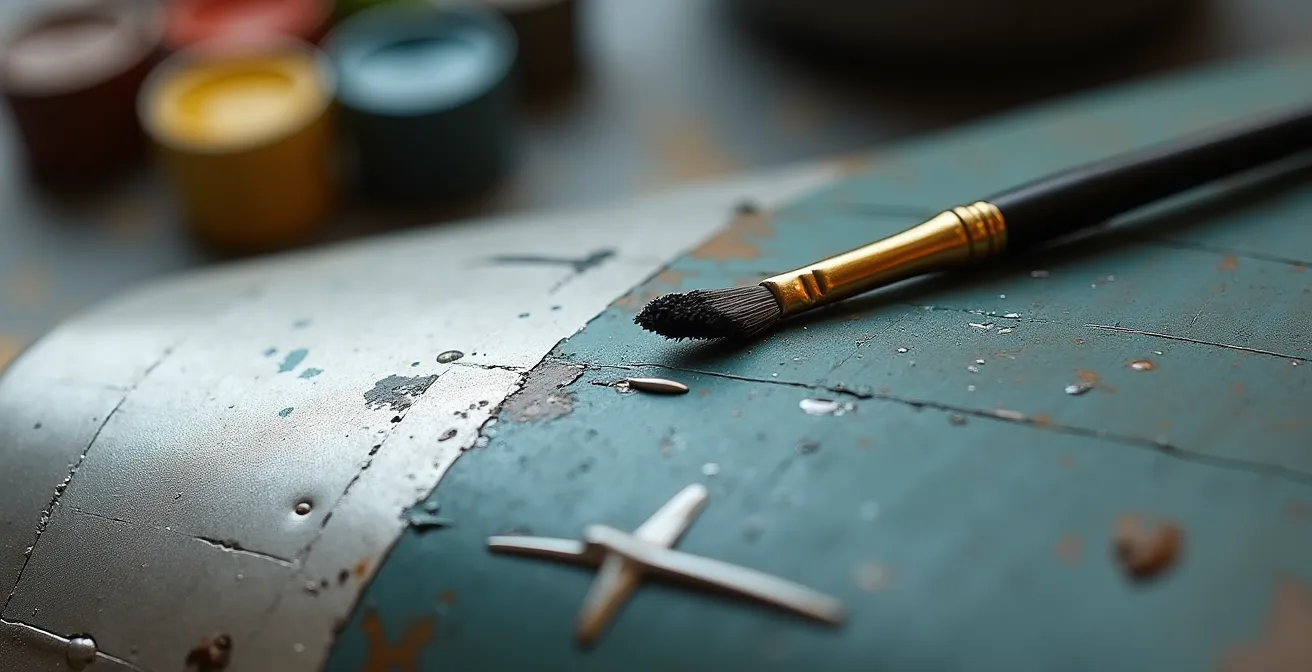
This is where oil painting transcends from being a coloring method to a sculptural one. The technique is often called a “filter” or a “pin wash,” but its essence is one of subtractive artistry. Unlike acrylics, where you must painstakingly apply the wash only into the recesses, oils allow for a more forgiving and organic process. You begin by applying a thinned wash of oil paint over an entire section of your model, letting it flow over details and into every panel line. There is no need for pinpoint accuracy at this stage; the goal is total coverage.
Once the wash is applied, you let it sit. This is the crucial moment that acrylics deny you. As the mineral spirits begin to evaporate, the oil paint transitions from a liquid to a tacky, workable state. Armed with a cotton swab, a makeup sponge, or a clean brush lightly dampened with thinner, you then begin to remove the excess paint from the flat, raised surfaces. The oil paint easily lifts from the smooth gloss coat, but it remains nestled in the recessed panel lines and around raised details. You are not “painting on” grime; you are “wiping away” everything that is clean, leaving the dirt behind exactly where it would naturally accumulate.
The success of this technique hinges on two factors: the surface finish and timing. A gloss or semi-gloss varnish is essential before applying an oil wash. This creates a smooth, non-porous surface that allows the wash to flow easily into recesses and makes the excess easy to remove. Applying oils over a matte finish will cause the paint to bite into the entire surface, making it impossible to clean up and resulting in a messy, stained appearance. Strategic use of a dual finish—gloss for decals and washes, followed by selective matte where heavier staining is desired—gives you ultimate control.
Action Plan: The Subtractive Wash Technique
- Preparation: Ensure your model is sealed with a non-porous acrylic gloss or satin varnish. This is your protective barrier.
- Application: Apply a thinned oil wash (e.g., Burnt Umber or Payne’s Grey) liberally over the target panel or area.
- The Waiting Game (0-30 mins): In this initial window, the paint is fully wet. Use a dry cotton swab to completely remove the wash and “reset” if you are unhappy with the color or consistency.
- The Subtractive Stage (1-2 hours): The paint becomes tacky. Use a cotton swab lightly dampened with odorless mineral spirits to wipe the paint off the raised surfaces, leaving it only in the panel lines.
- Blending and Fading (6-12 hours): The paint is mostly dry but still workable. Use a completely dry, stiff brush to stipple or feather the remaining pigment for subtle stains and tonal variations.
This subtractive method gives a far more realistic result than simply drawing lines with a fineliner or a fast-drying acrylic. The grime appears to have settled naturally, with soft edges and subtle variations that are the hallmark of authentic weathering.
How to drag dots of oil paint to create vertical rain streaks?
Creating realistic streaks—be they from rain, rust, or fluid leaks—is one of the most visually rewarding weathering techniques, and it’s an area where oils perform with unparalleled grace. The slow-drying nature of the paint allows you to blend and feather the streaks into the surface, creating a subtle effect that looks like it has been part of the vehicle’s history for years. Attempting this with acrylics often results in harsh, distinct lines that look painted on, completely shattering the illusion of scale realism.
The technique begins with observation. As master modelers often point out, streaks are not random. They follow the laws of gravity and airflow, originating from specific points like bolts, panel edges, or access hatches. Before applying any paint, study reference photos of real aircraft. Where does grime accumulate? How does rain wash dirt down the fuselage? This mental blueprint is your guide. The process itself is simple in execution but profound in effect. Instead of a brush, use a fine-tipped tool like a needle or toothpick to apply minuscule dots of oil paint at the points where a streak would originate. Use a variety of colors: Burnt Sienna for rust, Payne’s Grey for oily grime, and various ochres and umbers for dust and dirt.
This is where the magic happens. The artist’s hand, holding a thin brush, is about to transform simple dots into a story of exposure to the elements, as seen in the demonstration below.
With the dots in place, take a flat brush barely dampened with odorless mineral spirits. Place the brush just above a dot and pull it downwards in a single, smooth motion in the direction gravity or airflow would take it. The thinner reactivates the paint, dragging it into a delicate, translucent streak. The amount of thinner on your brush dictates the result: a damper brush creates a soft, diffuse streak, while a drier brush creates a sharper, more defined line. It is an intuitive, artistic process of building up history, layer by layer.
Streaks are not random. They mimic weathering effects caused by discharge, such as rusting of parts, oil leaks, sooty exhausts, and more. Looking at reference pictures is key!
– KVLTWORX Artist Oil Tutorial, Oil Weathering Tutorial Guide
Remember to change or clean your streaking brush often to avoid contaminating colors. By varying the colors of your dots, the pressure of your stroke, and the dampness of your brush, you can create an incredibly complex and realistic surface that tells a story of wear and tear.
Why you can’t put an oil wash over an enamel base coat?
This is one of the most critical rules in scale modeling, and breaking it leads to certain disaster. The reason you cannot apply an oil-based weathering product directly over an enamel-based paint job is simple: they belong to the same chemical family. Both oil paints and enamel paints are solvent-based. When you apply an oil wash, you use a thinner like odorless mineral spirits. This same thinner is also capable of dissolving the cured enamel paint of your base coat.
The result is catastrophic. The thinner in your wash will reactivate the underlying enamel paint, causing the two layers to mix into a messy, inseparable sludge. All your careful paint work, your camouflage and markings, will be smeared and potentially lifted right off the model. There is no way to fix this once it happens; the chemical interaction is immediate and irreversible. It’s the modeling equivalent of mixing bleach and ammonia—a dangerous combination with destructive results.
To understand this, you only need to know that modeling experts confirm that 100% of enamel and oil paints share solvent-based chemistry. This shared foundation is precisely why they are incompatible without a barrier. The solution is to introduce a different chemical family into the equation to act as an insulator. This is the role of an acrylic clear coat. Acrylic paints are water-based or alcohol-based. Once cured, they are largely impervious to the mineral spirits used with oils. By applying a layer of acrylic gloss or satin varnish over your enamel base coat, you create a protective, chemically-neutral barrier. This barrier physically separates the enamel paint from the oil wash. The mineral spirits in your oil wash can then be worked over this acrylic layer without any risk of affecting the enamel paint underneath. This inter-coat barrier is the single most important step for any multi-media paint job.
This principle of layering different paint families (e.g., Lacquer -> Acrylic -> Oil/Enamel) is the foundation of modern, complex weathering techniques. Mastering this chemical separation is what allows you to build deep, realistic finishes without fear of destroying your work.
The 24-hour window: why oils are forgiving and removable the next day?
The single greatest advantage of oil paints, the one that elevates them from a mere color to an artistic tool, is “The Forgiving Window.” This is the extended period—often 24 to 48 hours—during which the paint remains workable and even completely removable. This magical property is a direct result of how oil paint dries. Unlike acrylics, which dry through the rapid evaporation of water, oils cure through a slow chemical process called oxidation. They react with oxygen in the air to gradually harden from the outside in.
This slow oxidation is your greatest ally. It means that for hours, and sometimes even a full day after application, the paint has not yet permanently bonded to the surface. If you apply a filter and it’s too dark, or a streak is in the wrong place, you can simply take a cotton swab with a tiny amount of odorless mineral spirits and wipe it away, leaving the pristine surface underneath unharmed. You can endlessly adjust, blend, feather, and refine your effects. This removes all the pressure and fear associated with weathering. There are no irreversible mistakes in the first 24 hours.
This window can also be manipulated. You can extend the working time by adding a drop of linseed oil, or you can accelerate it by using an alkyd-based medium like Liquin, which can cut the cure time by half. This gives you, the artist, complete control over your medium’s properties. You can tailor the drying time to the specific task at hand, whether it’s a large-area blend that requires hours of work or a quick detail that you want to set faster. This level of control is simply impossible with acrylics, which dry in minutes and are then permanent.
- To Extend Working Time: Add a small drop of artist’s linseed oil to your paint mix. This is useful for large-scale blending like sun-fading effects.
- To Accelerate Drying: Mix your oils with an Alkyd medium like Liquin. This is perfect when you need to apply subsequent layers more quickly.
- For Standard Weathering: Use artist oils straight from the tube, thinned only with odorless mineral spirits, for a reliable 24-48 hour working window.
- For Quick Corrections: Work within the first 6 hours, when the paint is still fully reversible with even the mildest application of thinner.
Embracing this forgiving window transforms weathering from a high-stakes, stressful race into a relaxing, creative, and sculptural process. It gives you the confidence to experiment, knowing that you can always reset and try again.
Raised vs Recessed Panel Lines: How to Handle Older Kits for a Modern Look?
Modelers often encounter older kits from the 1970s or 80s that feature raised panel lines instead of the modern standard of recessed ones. For many, this is a deal-breaker, leading them to discard the kit or embark on the monumental task of rescribing the entire model. However, with oil paints, these raised lines are not a problem to be solved but an opportunity for a unique and elegant weathering technique: reverse weathering.
With recessed lines, the goal is to get dark paint *into* the lines. With raised lines, the goal is to create a shadow *next to* them. The slow-drying nature of oils makes this not only possible but also stunningly effective. Instead of a dark wash, you apply a light-colored oil wash—like a light grey or a buff—over the entire surface. Let it set for 15-30 minutes until it’s slightly tacky. Then, using a flat brush dampened with thinner, you carefully wipe the paint *off* the top of the raised panel lines. This leaves the raised lines clean and sharp, while the surrounding panels are subtly tinted and weathered. It’s a subtractive process that instantly makes the raised detail pop.
Another powerful technique for raised details is extended dry brushing. With fast-drying enamels or acrylics, you only have a minute or two before the paint on your brush is unusable. With oils, the paint remains workable for 30 minutes or more. This gives you ample time to load a brush with a highlight color, wipe off the excess, and gently whisk it across the model’s surface. The brush will only deposit paint on the raised panel lines and other details, creating a crisp, clean highlight that is nearly impossible to achieve with a standard brush. You can work slowly and deliberately, building up the effect with perfect control.
- Apply a light-colored oil wash over the entire model (e.g., a haze of white or yellow) to act as a filter.
- Let the paint set for 15-30 minutes until it becomes slightly tacky and no longer fully liquid.
- Using a flat brush lightly dampened with thinner, carefully wipe the paint OFF the tops of the raised lines only.
- This action cleans the raised detail, making it stand out against the subtly weathered background panels.
- For a shadow effect, you can apply a very thin, dark oil line immediately adjacent to the raised line and gently blend it out.
Instead of seeing raised panel lines as a curse, view them as a different kind of canvas. Oil paints provide the specific tools—reverse weathering and extended dry brushing—needed to turn these vintage kits into modern-looking masterpieces without the soul-destroying effort of rescribing.
Airbrush or Pigments: Which Creates the Most Realistic Exhaust Stains?
This question presents a false dichotomy. Asking whether an airbrush or pigments are better for exhaust stains is like asking if a pencil or an eraser is better for drawing. The truth is, a master artist uses both, in concert with other tools, to achieve the final effect. The most realistic exhaust stains are not created with a single medium but are a symphony of layered materials, and oil paints are the final, critical touch that harmonizes the entire composition.
The process is one of building texture and color in layers. An airbrush is perfect for laying down the initial foundation of the stain. For a piston-engine aircraft, this might be a soft, diffuse layer of light grey or tan sprayed in the direction of the airflow. This establishes the overall shape and tone of the exhaust pattern. It provides the wide, soft-edged base upon which you will build.
Next come pigments. Dry pigments are excellent for creating the dense, sooty, and matte texture found at the core of an exhaust stain. Using a stiff brush, you can stipple dark grey or black pigments right at the exhaust port, then use a softer brush to blend them out over the airbrushed base. This creates a convincing transition from dense soot to a wider, fainter stain. However, both airbrushing and pigments can look a bit stark and disconnected. This is where oils enter to unify the effect. Using dark brown or black oil paint, you can add tiny, streaky details within the stain to represent unburnt fuel or oil deposits. A very thin wash of oil paint can also be used to “fix” the pigments in place and blend their edges seamlessly into the airbrushed layer. A final touch of oil paint thinned with gloss varnish can create the look of a fresh, wet fuel leak, adding another layer of realism.
- Base Layer (Airbrush): Begin by airbrushing a soft, diffuse stain with a light grey or tan for piston engines, or a dark grey for jets, following the path of the airflow.
- Pigment Layer: Apply black or dark grey pigments directly at the exhaust’s origin for a dense, sooty core. Blend this outward with a soft, dry brush.
- Oil Detail Layer: Use dark brown or black oil paint to add small, subtle streaks and specks within the larger stain to represent fluid leaks and carbon buildup.
- Fixing Step: A very light mist of mineral spirits or a highly thinned oil wash can be used to lock the pigments and blend all layers together.
- Final Touch: Add tiny, specific points of gloss-thinned oils to simulate fresh, wet fuel leaks, completing the multi-layered effect.
The most realistic finish is never the result of a single technique. It is a carefully orchestrated application of different media, each chosen for its unique properties. Oils are the final touch that adds depth, variation, and a unifying narrative to the exhaust stain.
Key takeaways
- The slow-curing nature of oil paint is its greatest strength, offering a forgiving window for blending and correction.
- A sealed acrylic varnish layer is a non-negotiable chemical barrier required before applying any oil-based weathering products.
- Authentic weathering is about suggesting reality at scale, using layers and tonal variation to break up a toy-like, uniform finish.
Why Clean Models Look like Toys: Adding Authentic Weathering to Scale Aircraft?
A perfectly assembled, flawlessly painted model straight from the box often looks impressive, but it also looks sterile. It looks like a toy. The missing ingredient is history. Real aircraft are not pristine; they are machines that live and work in the elements. They are stained by rain, faded by the sun, chipped by mechanics’ boots, and streaked with oil and soot. Weathering is the art of telling this story, of transforming a static plastic object into a believable, scaled-down replica of a real-world machine.
The challenge is achieving “scale realism.” A one-inch-wide streak of grime on a real aircraft would be a massive, four-foot-wide stain in reality. Directly copying reality results in a caricature. The goal is not to perfectly replicate every speck of dirt, but to suggest the overall effect of wear and tear in a way that is convincing at a miniature scale. This is where oils, with their capacity for subtlety, become essential.
A real aircraft’s weathering is 1:1 scale. On a 1:48 scale model, a 1-inch wide streak of grime would be a massive 4-foot wide stain. The goal is not to copy reality, but to suggest it at scale.
– International Scale Modeller Forum, Scale Realism in Model Weathering
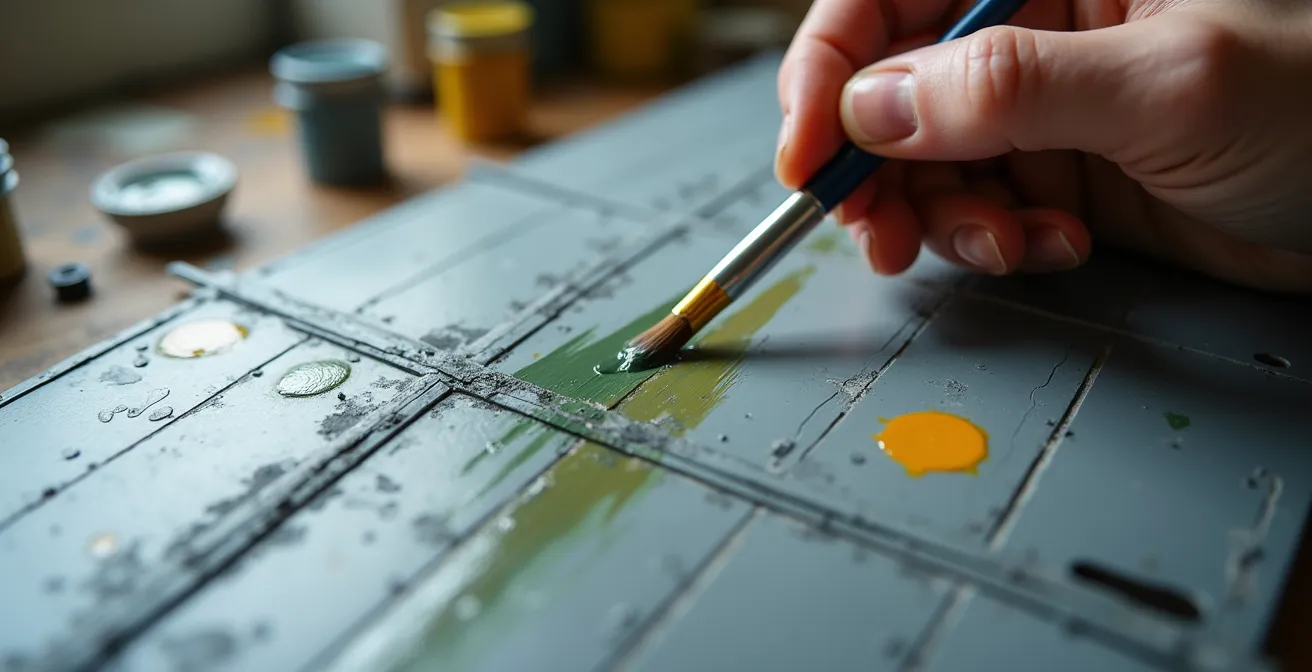
One of the most powerful techniques for breaking up a model’s toy-like, monolithic color scheme is the oil dot filter. This technique involves applying tiny dots of various oil paint colors—white, yellow, blue, green, umber—all over a panel. Then, using a wide, flat brush barely dampened with thinner, you blend these dots into the underlying paint. The result is not a dramatic change, but an incredibly subtle, almost imperceptible variation in hue and tone across the surface. Panels take on a faint, sun-faded look, and the uniform color is broken into a rich tapestry of tones. This organic modulation is virtually impossible to achieve with the fast-drying, opaque nature of acrylics. It is this subtle complexity that whispers “real” to the viewer’s eye, elevating the model from a simple replica to a true work of art.
Ultimately, the choice to use oils is a choice to embrace artistry over simple construction. It is a commitment to telling a story. The next time you sit at your workbench, don’t just think about applying paint. Think about the history you are creating. Pick up a tube of Burnt Umber, embrace the slow, deliberate process, and begin sculpting your masterpiece’s journey through time and the elements.