The strength of a model’s seam is not determined by the thickness of the glue, but by the quality of the chemical weld achieved through understanding solvent properties and full curing times.
- Thin cements utilize capillary action for clean, precise external seams, but require perfectly mating surfaces.
- Thick cements and homemade “sprue goo” provide superior structural strength and gap-filling properties for internal joints.
Recommendation: Always dry-fit all parts and allow joints to fully cure (often 48+ hours for structural bonds) before any sanding to prevent seam shrinkage and “ghost lines” from appearing after painting.
For any model aircraft builder, there’s no greater disappointment than seeing a perfectly painted fuselage marred by a visible seam line. The initial choice of adhesive—that seemingly simple decision between a bottle of extra-thin cement and a tube of thick glue—is often the root cause. Many modelers operate on the basic principle of using thin cement for clean seams and thick for strength, but this overlooks the complex chemistry at play. The process is not merely adhesion; it’s a controlled chemical reaction, a solvent weld that fuses two pieces of polystyrene into one.
This confusion is compounded by the variety of products and techniques available, from modern extra-thin formulations to traditional tube glues and even homemade concoctions like “sprue goo.” Each has a specific function dictated by its viscosity, solvent composition, and evaporation rate. Understanding these properties is the difference between a frustrating build plagued by weak joints and reappearing seams, and a flawless finish where the joint is truly invisible. True mastery lies not in a blind brand allegiance, but in adopting the mindset of a chemist.
This guide moves beyond simple recommendations. We will dissect the science behind these adhesives. By understanding the principles of capillary action, solvent outgassing, and the critical difference between a joint that is ‘hard’ and one that is fully ‘cured’, you will gain the knowledge to select the right bonding agent for every structural need. This approach empowers you to diagnose issues before they happen, execute flawless repairs, and build models with the structural integrity and seamless finish they deserve.
For those who prefer a visual overview, the following video provides a helpful summary of the various types of glues used in scale modeling, complementing the detailed chemical principles we will explore below.
This article provides a structured analysis of model cement chemistry and application. The following summary outlines the key topics we will cover, from fundamental techniques to advanced problem-solving, to help you achieve professional-level results on every build.
Summary: A Deep Dive into Model Cement Chemistry and Techniques
- Capillary Action: How to Glue Parts Without Touching the Joining Surface?
- How to Save a Model if You Spill Extra-Thin Cement on the Wing?
- Old School vs. Modern: Is There Still a Use for Thick Tube Glue?
- Why Glued Seams Reappear Months After Painting (and How to Stop It)?
- How Long to Wait Before Sanding a Glued Seam for Invisible Results?
- How to Organize Your Kit Assembly Sequence to Avoid Painting Disasters?
- Why You Must Treat Resin Parts Differently Than Plastic to Avoid Lung Damage?
- Why Dry-Fitting Every Part Saves You Hours of Filling and Sanding Later?
Capillary Action: How to Glue Parts Without Touching the Joining Surface?
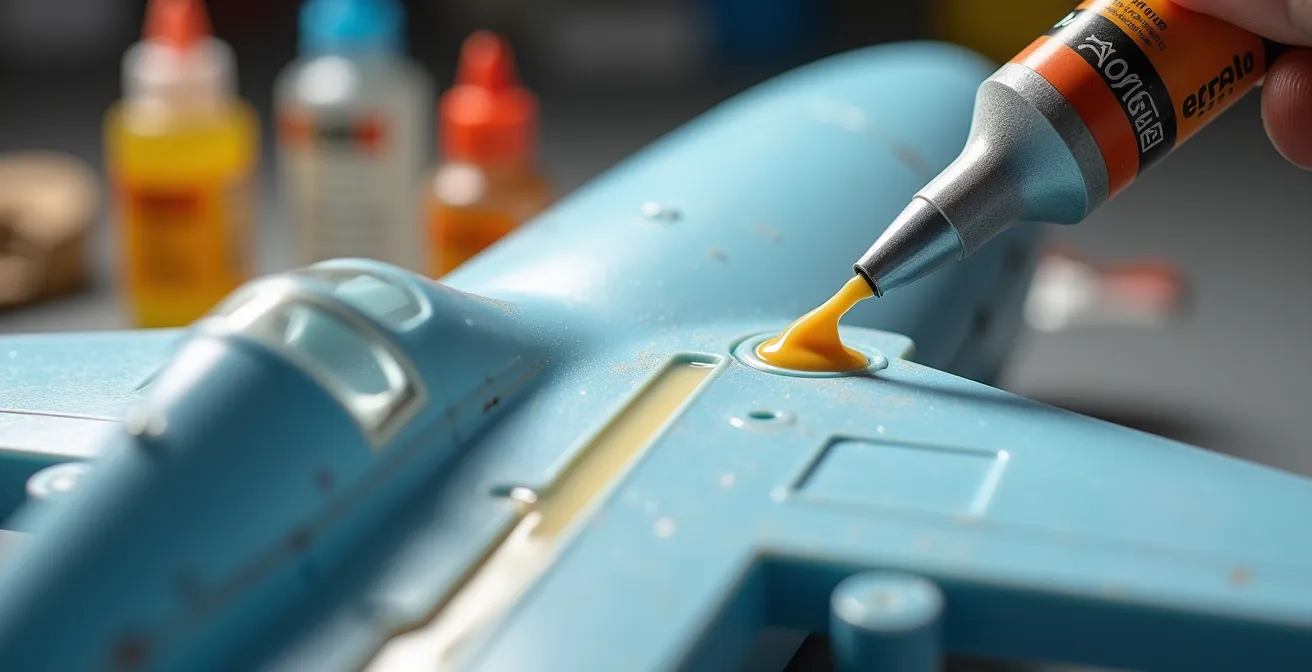
The primary advantage of extra-thin cement is its ability to leverage a physical principle known as capillary action. This phenomenon allows the low-viscosity liquid to be drawn into a narrow gap between two surfaces, against the force of gravity. For modelers, this means you can hold two fuselage halves together, touch the applicator brush to the seam line, and watch as the cement instantly wicks along the entire joint. This method produces an exceptionally clean bond with no external glue marks, as the solvent is applied only where it is needed.
This technique relies on a precise fit between parts. If there are significant gaps, capillary action will fail, and the bond will be weak or incomplete. The solvent works by momentarily melting the surface of the polystyrene plastic, allowing the two parts to chemically fuse as the solvent evaporates. This creates a true “chemical weld” that is as strong as the plastic itself. The key is to apply just enough cement to activate the plastic without flooding the area, which can cause surface damage or crazing.
However, when gaps are unavoidable or a stronger, more structural bond is needed internally, a thicker solution is required. A popular and effective alternative is a homemade filler known as “sprue goo.” This is created by dissolving scrap pieces of sprue (the plastic frame the parts come on) in liquid cement. This creates a thick, gap-filling paste made from the exact same plastic as the model, ensuring perfect compatibility and eliminating shrinkage issues common with traditional putties.
Creating your own is a straightforward process:
- Start with a bottle of extra-thin cement that is about 1/4 full.
- Cut small pieces of sprue from the same kit—approximately 15cm worth for a half-full standard Tamiya bottle.
- Add the sprue pieces to the cement, shake the bottle vigorously, and let the plastic dissolve for a minimum of 2-3 hours. The result is a custom-made, high-strength structural adhesive and filler.
Mastering both capillary flow for external seams and sprue goo for internal structure provides a complete system for fuselage assembly.
How to Save a Model if You Spill Extra-Thin Cement on the Wing?
The very properties that make extra-thin cement so effective—its low viscosity and high volatility—also make it dangerous. A slip of the hand can lead to a spill that instantly mars a perfectly smooth wing surface or crazes a clear canopy. The key to recovery is to act with chemical understanding, not panic. The absolute first step is to do nothing. Do not wipe it. Wiping a solvent spill will only smear the melting plastic and enlarge the damaged area. You must allow the solvent to completely evaporate on its own.
Once the cement has fully evaporated, which can take several minutes, you can assess the damage. The solvent will have etched the plastic, leaving a rough or crazed texture. The goal of the repair is not to add material, but to carefully remove the damaged surface layer and polish the underlying plastic back to a smooth finish. This requires a progressive sanding and polishing approach, starting with very fine grit abrasives and moving to polishing compounds.
Case Study: Professional Recovery from MEK Spill Damage
The risk of spills is a constant concern, even for experienced builders. In one documented case, a modeler recovered from a significant MEK (Methyl Ethyl Ketone, a very “hot” solvent) spill on an Intruder windscreen. The recovery hinged on a methodical approach. First, the modeler allowed the solvent to completely evaporate before touching the part. Then, using a precision Touch-n-Flow applicator for any further bonding, he prevented future incidents. Finally, he painstakingly polished the affected area of the clear canopy, restoring its clarity without damaging the delicate surrounding frame details, a testament to a patient and controlled repair process.
This illustration demonstrates the delicate process of repairing a solvent spill on a model’s surface, emphasizing precision and patience.
As you can see, the repair moves from a damaged state to a fully restored finish. For clear parts like canopies, the final step involves using a dedicated plastic polish (like Novus or Tamiya Polishing Compound) to restore optical clarity. The principle is the same: the damage is a surface-level chemical event, and the solution is a careful physical process of abrasion and polishing.
Ultimately, preventing spills is the best strategy, but knowing the correct chemical and physical recovery process can save a model from disaster.
Old School vs. Modern: Is There Still a Use for Thick Tube Glue?
With the prevalence of high-performance liquid cements, many builders question if there is any role left for traditional, thick polystyrene cement sold in tubes. The answer is a definitive yes, but its application has shifted from a general-purpose adhesive to a specialized tool. While extra-thin cement excels at clean external seams on well-fitting parts, thick cement provides two distinct advantages: gap-filling capability and longer working time.
Thick tube glue can be applied to internal surfaces, such as along the inside of a fuselage seam or to join bulkheads, where its mass can add significant structural reinforcement. Because it evaporates much more slowly, it allows for more time to position and adjust large components. Its viscosity prevents it from running into unwanted areas, making it ideal for strengthening wing roots or other high-stress joints from the inside. However, its slow cure time and tendency to shrink make it unsuitable for external seams where a flawless finish is required. This is where modern cements and homemade Sprue Goo have a distinct advantage.
The following table, based on information from modeling communities like Plastic Craic, breaks down the ideal uses for each type of adhesive.
| Cement Type | Best Uses | Cure Time | Application Method |
|---|---|---|---|
| Extra Thin | External seams, capillary joints | 1 hour light work | Brush or applicator tip |
| Thick/Tube | Internal reinforcement, gap filling | 48+ hours full cure | Direct application |
| Sprue Goo | Custom gap filling, no shrinkage | 24 hours depending on thickness | Metal tools or brush |
The unique strength of Sprue Goo, as an evolution of the thick cement concept, is its perfect material compatibility. As one expert modeler explains, the process is a true chemical weld. According to Seanzor on the Plastic Craic modeling blog:
When you apply Sprue Goo to GW plastic it will create a very strong bond as it is dissolving the outer layer of plastic while it hardens.
– Seanzor, Plastic Craic modeling blog
In a modern workflow, thick tube cement is not an obsolete product but a specialized one, best reserved for internal structural work where its strength and mass are assets, not liabilities.
Why Glued Seams Reappear Months After Painting (and How to Stop It)?
One of the most perplexing issues for modelers is the “ghost seam”—a joint that was perfectly sanded and invisible before painting, only to reappear as a faint line weeks or even months later. This phenomenon is not a failure of sanding technique but a misunderstanding of chemical curing. The root cause is the slow, continued solvent outgassing from the plastic and any fillers used.
When you join two fuselage halves with solvent cement, the plastic melts and fuses. Although the seam may feel hard to the touch within an hour, the chemical reaction is not complete. Solvents are still trapped within the plastic, and they will continue to evaporate, or “outgas,” over a very long period. This outgassing causes the plastic along the seam to shrink microscopically. If different materials are present, such as plastic putty filler, they will shrink at a different rate than the surrounding styrene. This differential shrinkage is what causes the seam to become visible through the thin layers of paint.
Many builders are caught out by this, as one modeler’s experience highlights:
My attempts at sprue goo stayed soft for days, and ultimately sank. Then I’d have to use putty for the sunken area! The solution was using thinner layers and allowing complete curing between applications.
– Modeler testimony on Tapatalk Hyperscale Forum
The solution is twofold. First, give the joint an extended period to fully cure and outgas before final sanding and painting. For a major structural seam like a fuselage, this can mean waiting a week or more. Second, use a filler that is chemically identical to the model, such as the previously mentioned sprue goo. Because it is made from the same plastic, it will shrink at the same rate as the surrounding area, making ghost seams far less likely. A final preventative measure is to use a “hot” lacquer-based primer, which will slightly bite into the surface and reveal any unstable areas before the color coats are applied.
Patience is the ultimate tool against ghost seams; allowing for complete chemical stabilization is non-negotiable for a truly permanent, invisible finish.
How Long to Wait Before Sanding a glued Seam for Invisible Results?
The time required before sanding is directly related to the phenomenon of solvent outgassing and the critical distinction between a joint that is hardened versus fully cured. A seam can feel solid and ready for sanding in as little as an hour, but at this stage, it is only superficially hardened. Deep within the plastic, solvents are still active, and the polymer structure is not yet stable. Sanding at this point will yield a smooth surface that is a temporary illusion. As the joint continues to cure and shrink over the following days and weeks, a sunken line will appear.
For a standard weld on a fuselage seam using extra-thin cement, a minimum wait of 24 hours is recommended before any significant sanding. For joints that involve thick cement, sprue goo, or any form of gap-filling, this timeframe should be extended dramatically. Many experienced modelers recommend waiting for 48+ hours for thick cement beads inside a fuselage to fully stabilize before attempting to sand the exterior seam. The thicker the application of cement or filler, the longer the outgassing process will take.
Once the joint is fully cured, the sanding process itself should be a multi-stage affair, not a single aggressive session. The goal is to blend the seam perfectly without removing surrounding surface detail or creating flat spots.
- Stage 1 (Post-Cure): Gently scrape the raised bead of the seam with the back of a hobby knife blade. This levels the joint without removing plastic from the surrounding area.
- Stage 2 (Coarse Blending): Use a medium-grit sandpaper (240-320 grit) to blend the scraped joint into the fuselage contours.
- Stage 3 (Fine Smoothing): Switch to a finer grit (400-600 grit) and wet sand the area to remove the scratches from the previous stage.
- Stage 4 (Polishing): Finish with very fine grits (800 and above) or a polishing cloth to restore the plastic’s original sheen and make the seam completely vanish.
This image shows the visual progression of a seam through these distinct sanding and polishing stages, from a rough joint to an invisible blend.
Rushing this stage is a false economy; the hours spent on painting and weathering are wasted if the foundational seam work is chemically unstable.
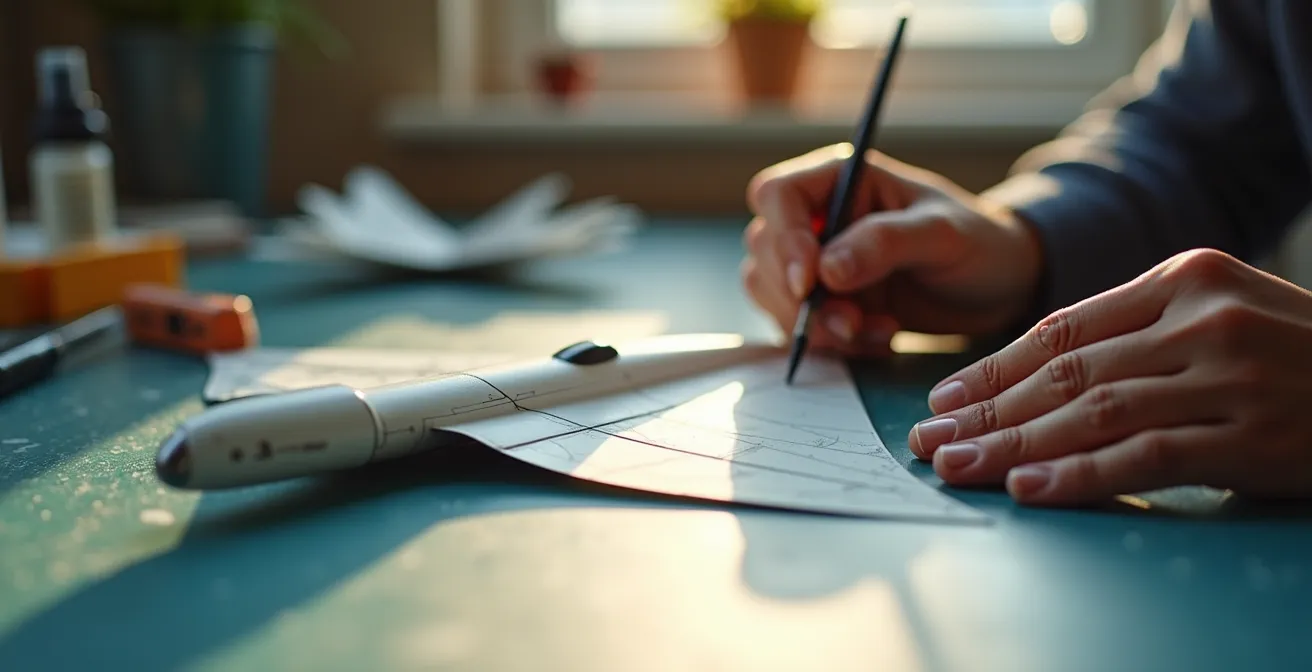
How to Organize Your Kit Assembly Sequence to Avoid Painting Disasters?
A successful build is as much about project management as it is about technical skill. Organizing your assembly sequence with painting and bonding in mind prevents common disasters, such as being unable to paint an interior part after the fuselage is closed or creating weak bonds by gluing over painted surfaces. The core principle is to think in sub-assemblies and plan the chemical bonding process from the start.
Before any glue is opened, you should review the instructions and identify sections that can be built and painted as separate modules. Cockpits, wheel wells, and engine nacelles are common examples. These areas should be assembled, painted, and weathered before being integrated into the larger airframe. This approach ensures you have easy access for detail painting and avoids complex masking later. Crucially, when it comes time to join these painted sub-assemblies to the main fuselage, you must scrape the paint away from all contact points. Polystyrene cement works by melting plastic; it cannot create a chemical weld through a layer of acrylic or enamel paint. Gluing on top of paint results in a weak, superficial bond that is prone to breaking.
This strategic planning was vital in one well-documented community build.
Case Study: 1/48 B-17F Fuselage Assembly Strategy
During a group build of a large 1/48 scale B-17F Flying Fortress, modelers adopted a strict assembly sequence for the complex fuselage. The strategy involved fully painting and weathering all interior sections, including the cockpit and bomb bay, before assembly. A critical step was to dry-fit all bulkheads and interior components first. Then, using a hobby knife, they carefully scraped paint from every contact point to ensure a clean, strong plastic-to-plastic bond. Bulkheads were glued in one at a time with liquid cement and held until set. Finally, the main fuselage halves were joined and secured with masking tape and rubber bands, then left for over 48 hours to allow the internal structural bonds to fully cure before any further work commenced.
This methodical process—paint sub-assemblies, scrape contact points, assemble, and allow for a full cure—is the foundation of a structurally sound and cleanly painted model. It transforms assembly from a linear race to the finish into a strategic process that respects the chemical requirements of the materials.
Planning ahead prevents backtracking and ensures that every glue joint is a strong, permanent chemical weld, not a fragile bond waiting to fail.
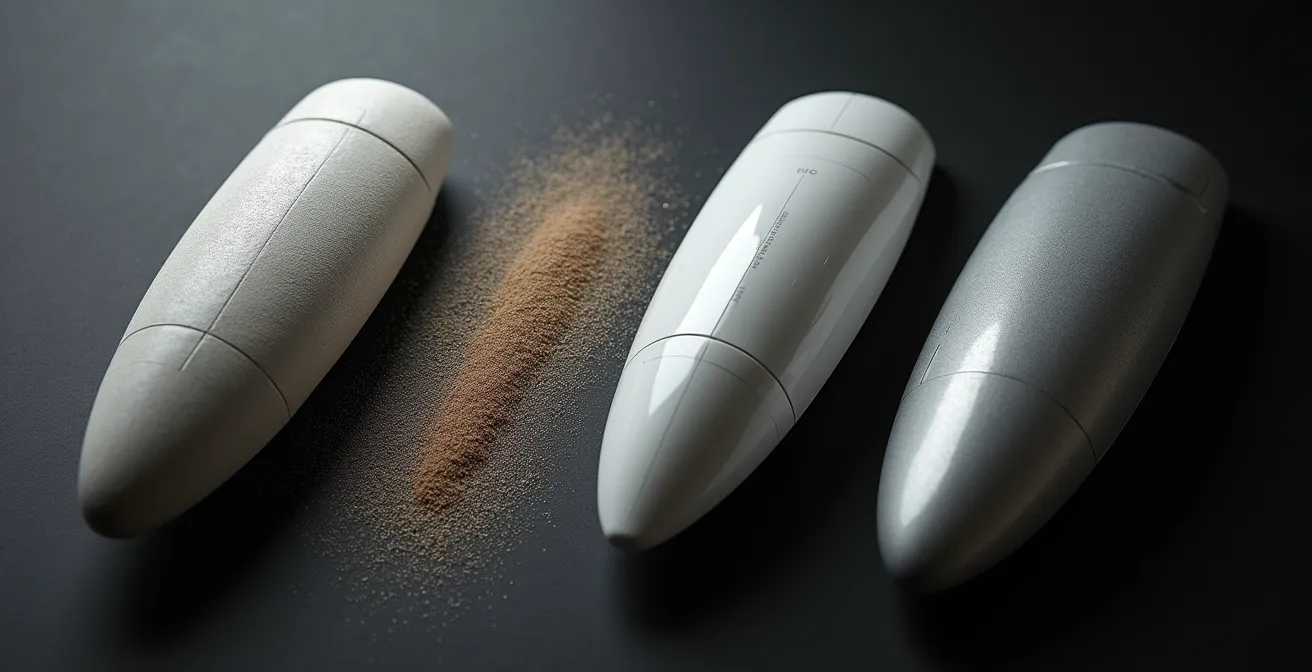
Why You Must Treat Resin Parts Differently Than Plastic to Avoid Lung Damage?
Model kits increasingly include mixed-media parts, with high-detail components cast in polyurethane resin. It is chemically impossible to bond resin to polystyrene plastic using standard polystyrene cement. The solvents in plastic cement (like Toluene or Butyl Acetate) are formulated to melt polystyrene; they have no chemical effect on cured polyurethane resin. Attempting to use plastic cement on a resin part is like trying to weld wood with a blowtorch—it simply won’t work.
Furthermore, the physical act of working with resin parts poses a significant health risk that is absent with injected plastic. Resin dust, created from sanding, cutting, or grinding, is a potent respiratory irritant and potential carcinogen. The fine particles can be easily inhaled and can cause serious lung damage over time. Therefore, whenever you are sanding resin parts, you must wear a high-quality particulate respirator or dust mask and work in a well-ventilated area, or use wet-sanding techniques to keep dust from becoming airborne.
For bonding resin to plastic, or resin to resin, you must use adhesives that work by surface adhesion rather than chemical welding. The most common choices are Cyanoacrylate (CA glue or “super glue”) and two-part epoxies. CA glue offers a fast, strong bond but can be brittle. Epoxy provides a slightly more flexible and extremely durable bond, making it ideal for large, heavy resin parts or joints that will be under stress. Brad, an expert modeler from the Scale Model Addict Forum, summarizes this best:
I use CA glue and 2-part epoxies for bonding unlike materials, like metal or resin to styrene, or resin to resin or metal, and metal to metal.
– Brad (Baron von Havoc), Scale Model Addict Forum
This compatibility matrix clarifies which adhesives work for different material combinations.
| Materials to Bond | Plastic Cement | CA Glue | Epoxy |
|---|---|---|---|
| Plastic to Plastic | Excellent (chemical weld) | Good (surface bond) | Good |
| Resin to Resin | No effect | Good | Excellent |
| Plastic to Resin | Will not bond | Fair (brittle) | Good |
| Metal to Plastic | Will not bond | Good | Excellent |
In short, treat resin with respect: protect your lungs from its dust and use the correct adhesive (CA or epoxy) for a strong, lasting bond.
Key Takeaways
- A strong bond is a “chemical weld,” not simple adhesion. This requires clean, plastic-to-plastic contact.
- A seam that feels “hard” is not fully “cured.” Premature sanding on an uncured seam leads to shrinkage and “ghost lines.”
- Solvent “outgassing” is the chemical process responsible for seam shrinkage. Allowing adequate cure time (24-48+ hours) is the only way to prevent it.
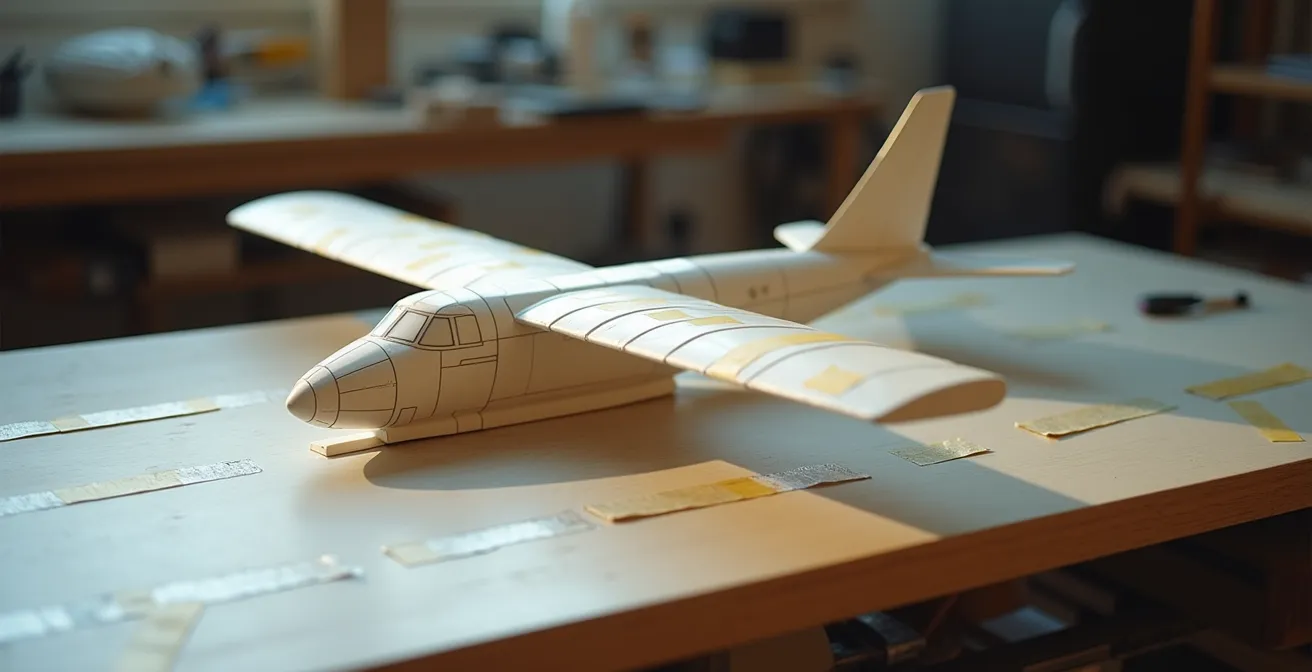
Why Dry-Fitting Every Part Saves You Hours of Filling and Sanding Later?
Dry-fitting—the process of assembling parts with tape before applying any glue—is the single most important step in preventing major fit issues. It is the diagnostic phase of the build, allowing you to identify problems with part warpage, ejector pin marks, or poor engineering before they are permanently locked in with cement. Skipping this step is a gamble that often results in hours of frustrating filling, sanding, and re-scribing lost detail.
A thorough dry-fit of a fuselage, for example, will immediately reveal any gaps along the seam line, alignment issues with the wing roots, or problems with internal components like cockpits or bulkheads preventing the halves from closing properly. As one experienced builder noted, this simple check can be the difference between a successful project and a failed one.
Dry fitting saved my project when I discovered warped fuselage halves on a large scale bomber. Without dry fitting first, I would have glued everything only to find massive wing root gaps that no amount of filler could fix properly.
– Professional Modeler Testimony from Britmodeller forum
This pre-assembly mockup allows you to formulate a precise bonding strategy. You can determine which areas need internal reinforcement with plastic tabs or sprue goo, where extra-thin cement can be applied with capillary action, and where a stronger, slower-setting glue might be needed. This is the stage where you become the project’s chief engineer, planning the solutions before the problems become permanent.
Your Pre-Bonding Audit Checklist: The 5-Step Dry-Fit
- Mating Surfaces Audit: Check all joining surfaces for flash, mold lines, or warpage that would prevent a flush fit. Clean and scrape as needed.
- Gap Identification: Temporarily tape the main parts (fuselage, wings) together to identify any gaps that will require filler or internal reinforcement with sprue goo.
- Alignment & Sub-assembly Check: Mock up the entire model with tape to verify overall alignment of wings, fuselage, and tail. Test fit all interior components to ensure they don’t interfere with the final closure.
- Bonding Strategy: Plan which joints are suitable for capillary action with thin cement and which require internal reinforcement with thick cement or sprue goo for strength.
- Paint Demarcation: Mark any contact areas that will be pre-painted, reminding you to scrape the paint away later to ensure a clean plastic-to-plastic bond.
Treat dry-fitting not as an optional step, but as the essential blueprint for a successful and seamless assembly. This proactive quality control is the hallmark of a skilled model builder.
Frequently Asked Questions About Model Cement and Seams
Why do seams reappear after painting?
This phenomenon, known as “ghost seams,” occurs because the plastic and any filler materials shrink at different rates over weeks or months. This is caused by the slow evaporation (outgassing) of solvents trapped in the material. A seam that is not fully cured before painting will continue to shrink, causing the joint to become visible again through the paint.
What’s the difference between curing and hardening?
A glued seam can feel hard to the touch in an hour, but this is only superficial hardening. Full chemical curing means the solvent has completely outgassed and the plastic’s molecular structure has stabilized. This can take anywhere from 24 hours to several days, depending on the cement type, application thickness, and environmental factors like temperature and humidity.
How can I detect unstable seams before painting?
The most effective method is to apply a “hot” primer, typically a lacquer-based one. This type of primer will slightly bite into the plastic surface and will immediately reveal any chemically unstable areas by causing slight crazing or sinking, signaling that the seam needs more curing time or additional work.