In summary:
- Treat fragile decals like ancient manuscripts; reinforcement before handling is non-negotiable.
- Control the environment—use warm water and proper setting solutions to make the decal pliable, not brittle.
- Master delicate rescue techniques for when things go wrong, such as folds or tears during application.
- When a decal is beyond saving, archival and replication methods can preserve the model’s historical accuracy.
- Proactive inspection of a kit’s decals before purchase is the ultimate form of preservation.
There is a unique silence that accompanies the heartbreak of a model builder. It’s the quiet moment when a rare, irreplaceable decal—perhaps from a vintage kit decades old—shatters into a dozen tiny fragments upon contact with water. The wing marking is ruined, the project stalled, and a piece of history is lost. This moment of panic is a shared trauma among modelers who work with old or exceptionally thin decals. The common advice often feels inadequate, a list of products and quick tips that don’t address the core of the problem: these are not just stickers, but fragile artifacts that demand a restorer’s touch.
Many guides will tell you to simply coat the decal with a liquid film or to use warm water. While correct, this advice scratches only the surface. It fails to impart the necessary mindset for success. The true key lies not in a single product, but in adopting the philosophy of an archival restorer. It’s a shift from forcing a repair to orchestrating a delicate preservation. This requires understanding the material’s fragility, anticipating its reactions to temperature and moisture, and applying patient, methodical techniques to coax it back to life.
This guide will walk you through that delicate process. We will not just list tools; we will explain the principles behind them. You will learn how to assess and reinforce a fragile decal before it ever touches water, how to control its environment for a safe application, what to do in an emergency when a decal folds or tears, and finally, how to ensure historical accuracy even when the original marking is lost forever. It is time to trade panic for patience and transform a moment of potential disaster into a display of masterful preservation.
To navigate this delicate craft, we have structured this guide to take you from proactive preservation to emergency restoration. Each section builds upon the last, equipping you with the skills and mindset of a true decal archivist.
Summary: A Restorer’s Guide to Saving Vintage Model Decals
- How to reinforce cracked decals with a liquid coating before dipping?
- Warm vs Cold: why warm water activates glue faster and softens the film?
- Saliva or Setting Solution: what should be under the decal for sliding?
- What to do when a thin decal folds over onto itself in the water?
- How to force a decal to conform over rivets without slicing it?
- Replicating Hand-Painted Nose Art: Decals or Paint Brush?
- How to Identify Quality Injection-Molded Kits Before Opening the Box?
- How to Research a Specific Pilot’s Plane When Official Records Are Missing?
How to reinforce cracked decals with a liquid coating before dipping?
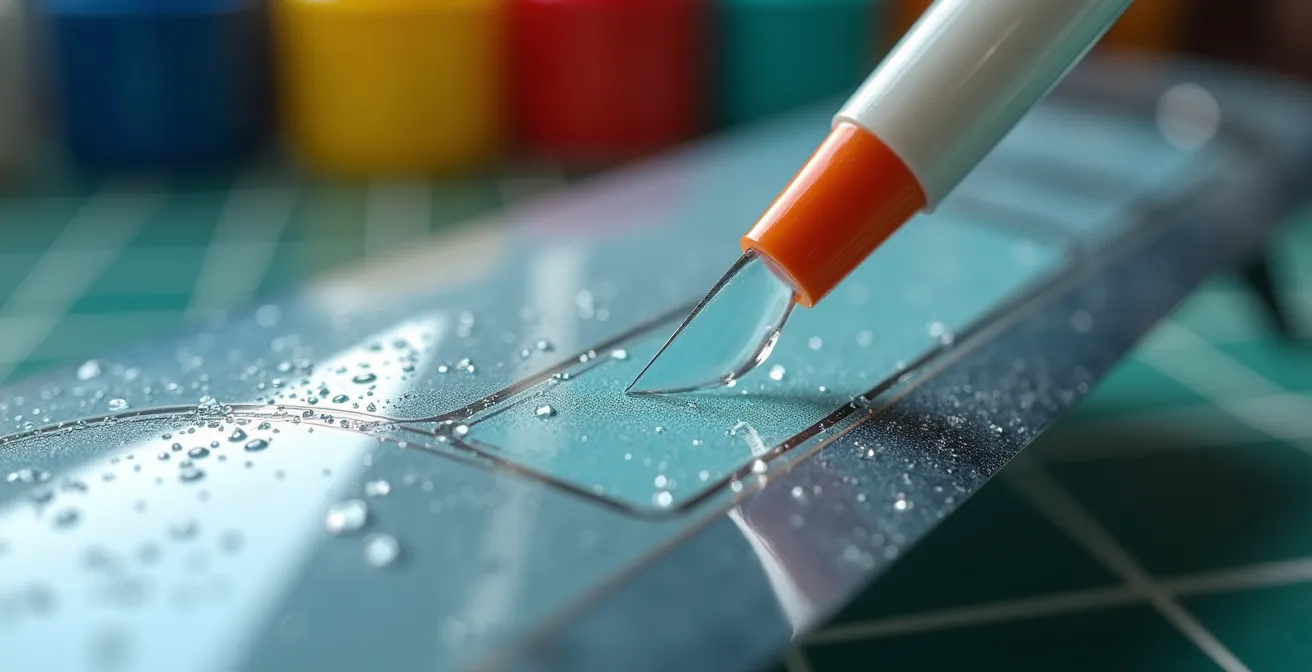
Before a single drop of water nears a cracked or aged decal, you must assume the role of a conservator preparing a fragile manuscript. The network of fine cracks on the surface is a sign of extreme brittleness. Submerging it without preparation is not a step; it is an act of destruction. The goal is to create a new, contiguous carrier film—a transparent splint that will hold the fragmented ink together during the ordeal of application. This is achieved with a liquid decal film, a coating that effectively builds a new, stable surface over the old one.
Choosing the right product is crucial, as each has different properties of thickness and drying time. A heavier film offers more security but may be harder to conform to surface details later. A thinner coat is more flexible but offers less structural support. Understanding these trade-offs allows you to make an informed choice based on the decal’s condition.
The following table, based on a comparative analysis by modelers, outlines the most common options available for this delicate preservation task.
| Product | Application Method | Thickness | Drying Time | Special Notes |
|---|---|---|---|---|
| Microscale Liquid Decal Film | Brush or Airbrush | Medium-Heavy | 20-30 minutes | Can be thinned with isopropyl alcohol |
| Future/Pledge Floor Polish | Brush or Airbrush | Thin, Self-leveling | 15-20 minutes | Thinner coats than decal film |
| Krylon Crystal Clear | Aerosol Spray | Medium | 10-15 minutes | Falls between decal film and Future in thickness |
| Testors Decal Bonder | Aerosol Spray | Medium | 15-20 minutes | Can saturate decal sheet if over-applied |
Once you have selected your reinforcement medium, the application itself must be methodical and precise. This is not the time for haste. A single, even coat is often sufficient. Applying too much can create an overly thick film that will refuse to settle over the fine panel lines and rivets of your model, destroying the very realism you aim to achieve. The following procedure ensures a successful reinforcement.
Your Action Plan: Applying a Protective Film
- Test the liquid film on a non-essential part of the decal sheet first (like a copyright notice or an unused stencil) to observe its behavior.
- Apply a thin, even coat of your chosen liquid film with a small, soft brush directly onto the decal’s surface, ensuring full coverage.
- Allow the film to dry completely, typically for 20-30 minutes, in a dust-free environment until it is no longer tacky.
- For an ultra-thin application via airbrush, use an unthinned product like Microscale’s film at low pressure (around 25 PSI).
- Once the new carrier film is fully cured, you can proceed with the standard water application method, confident the decal is now stabilized.
Warm vs Cold: why warm water activates glue faster and softens the film?
Once your decal is reinforced, the next stage of preservation involves its delicate rehydration. The temperature of the water is not a minor detail; it is the most critical tool for controlling the decal’s behavior. Think of it as a restorer using humidity to gently relax the curled fibers of old parchment. Cold water will eventually work, but it does so slowly and unevenly. It can lead to incomplete adhesive activation, causing the decal to refuse to slide from its backing paper or fail to adhere properly to the model’s surface.
Warm water, in contrast, is an active agent in the process. It serves two primary functions. First, it accelerates the dissolution of the water-soluble glue on the backing paper, ensuring a swift and clean release. Second, and more importantly for fragile decals, the warmth gently softens the carrier film itself, making it more pliable and less prone to cracking as you slide it into position. As modelers have documented, this simple change dramatically reduces the time the decal spends in a vulnerable, semi-detached state. The ideal is not hot water, which can damage or curl the film, but pleasantly warm water.
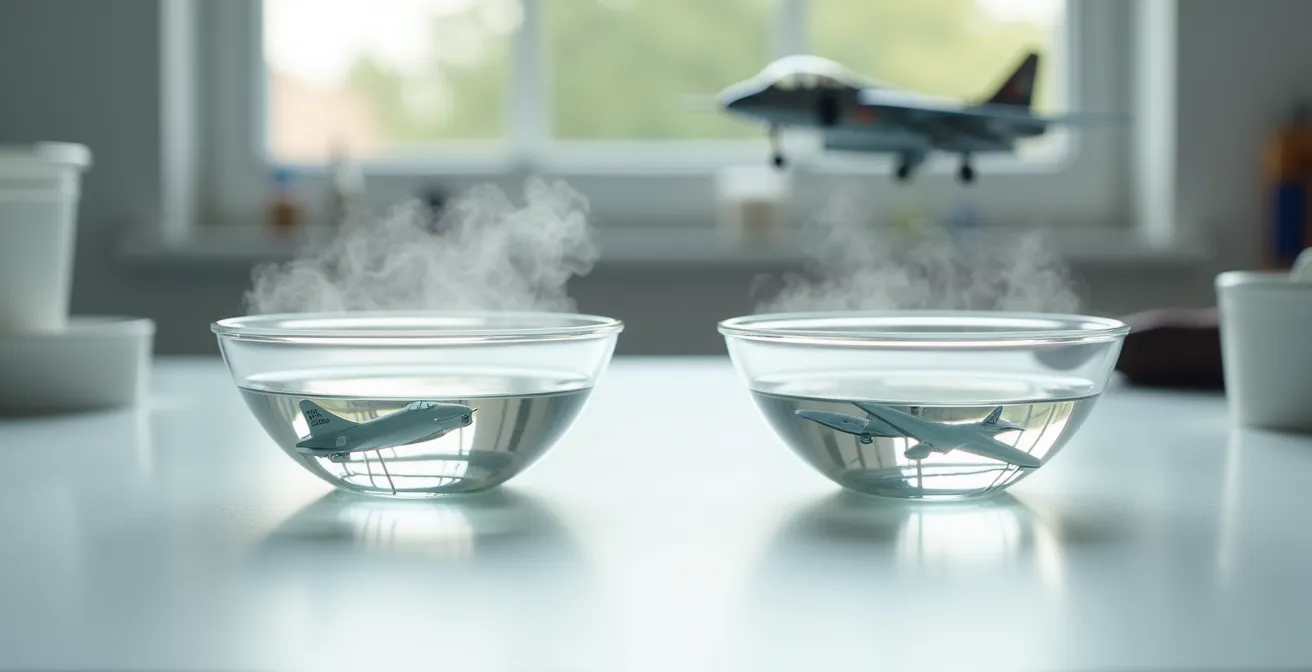
As the illustration above suggests, the environment dictates the outcome. Scientific precision can replace guesswork. For optimal results, decal manufacturers confirm that a recommended temperature range of 77°F – 86°F (25°C-30°C) ensures the adhesive activates correctly without shocking the delicate film. This temperature is warm to the touch but not hot. Achieving this precise range is simple: use a thermometer, or as some modelers do, heat water briefly in a microwave and let it cool slightly. This controlled warmth is your greatest ally, transforming a brittle, resistant film into a cooperative and flexible partner in the final marking of your model.
Saliva or Setting Solution: what should be under the decal for sliding?
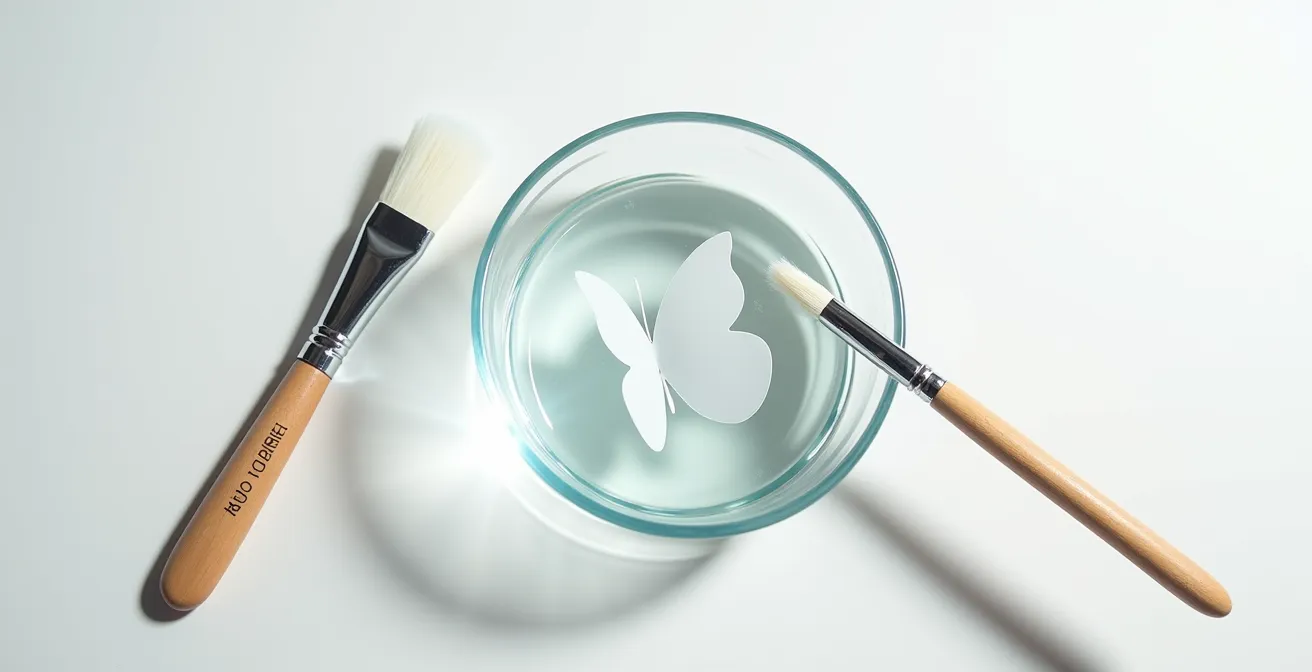
With the decal released from its backing, you face the critical moment of transfer. The surface of the model must be prepared to receive this fragile item. Attempting to slide a decal onto a dry, glossy surface is a recipe for disaster. The decal will instantly grab, tear, and refuse any attempt at repositioning. You need a lubricating medium—a “slip layer”—that allows the decal to float just above the surface while you guide it into its final, perfect position.
For generations, the modeler’s folk wisdom has offered a simple, if unglamorous, solution: saliva. The enzymes and proteins in saliva act as a surfactant, breaking the surface tension of water and creating an exceptionally slick surface. While effective, it is an uncontrolled, organic medium. The modern restorer has more refined options. The goal is to create a controlled, temporary barrier between the decal’s adhesive and the model’s paint. Professional decal setting solutions, like Micro Set, are designed for this exact purpose. They not only provide a lubricating layer but also contain agents that begin to soften the decal, preparing it for the next stage of conforming to surface details.
If a dedicated solution isn’t available, a simple, clean alternative can be created. As the experts at Custom Model Decals note in their guide, a small addition to your water can make a world of difference:
A tiny amount of washing up liquid added to the water will help the decal to slide better if not using a decal fixative solution.
– Custom Model Decals, Applying Waterslide Decals Correctly guide
This single drop of dish soap acts as a surfactant, mimicking the properties of more expensive solutions. It provides you with precious extra seconds to nudge the decal into perfect alignment without it grabbing or tearing. Whether using a professional fluid or a homemade solution, applying a wet layer to the model’s surface is the non-negotiable step that ensures a smooth, stress-free transfer from the backing paper to its final home.
What to do when a thin decal folds over onto itself in the water?
This is the moment that stops a modeler’s heart. An exceptionally thin decal, or one that has detached from its backing paper prematurely, folds over onto itself. The adhesive sides touch, and it instantly becomes a tangled, seemingly hopeless mess. The first instinct—to panic and try to pull it apart with tweezers—is the most destructive. This is not a task for force; it is an underwater rescue operation that requires the utmost delicacy and patience.
The cardinal rule is to keep the decal fully submerged. As soon as it is exposed to air, the delicate film begins to dry, becoming brittle and far more susceptible to tearing. Your theater of operations is a shallow dish of clean, lukewarm water. Here, the water itself becomes your primary tool. Expert modelers have perfected a “float and current” method. Using two soft brushes, you create gentle currents in the water around the folded decal. These currents will slowly begin to lift and unfurl the delicate film, allowing it to separate naturally without any direct, forceful contact. You are coaxing it apart, not prying it.
For more stubborn folds, specialized tools can be introduced once the currents have done most of the work. Silicone-tipped clay shapers or the rounded end of a wooden toothpick are ideal for gently nudging the layers apart. Their soft, non-abrasive surfaces are far less likely to puncture or tear the film than the sharp points of a hobby knife or tweezers. The entire process is one of patience. It may take several minutes of gentle, underwater manipulation to fully rescue the marking, but this methodical approach is the only way to save it without causing irreparable damage.
Should you find yourself in this situation, do not despair. Follow this emergency procedure with a calm hand:
- Stop immediately. Panic leads to rushed movements that will tear the decal. Take a breath.
- Ensure the folded decal remains fully submerged in a dish of lukewarm water.
- Use two soft brushes on opposite sides of the decal to create gentle, swirling water currents to encourage it to unfurl.
- If partially separated, use a very soft tool like a silicone shaper to gently get between the layers while it is still underwater.
- Once the decal is flat again, you can carefully slide it onto a scrap of its original backing paper to regain control for application.
- Re-wet the surface of the model and proceed with the normal application process, working slowly.
How to force a decal to conform over rivets without slicing it?
Getting a decal to lie flat on a smooth surface is one challenge; persuading it to hug every rivet, panel line, and compound curve is the true art form. This is where decal “setting” solutions come into play. However, these are not glues but rather mild solvents designed to temporarily melt the decal’s carrier film, making it shrink and conform to the details beneath. Used aggressively, a strong solvent can turn a decal into a puddle of wrinkled paint. The restorer’s approach is one of graduated persuasion, not brute force.
The safest method is to use a progressive system of solvents. You begin with a very mild solution (like Micro Set) to position the decal and get it to adhere. Let this dry completely. Then, for the stubborn areas over raised details, you apply a stronger solution (like Micro Sol), but you do so in several light, targeted coats. The key is patience. Apply a light coat, and walk away. Give the solvent 15-20 minutes to work its magic. The decal may wrinkle up alarmingly—this is normal. Do not touch it. As it dries, it will pull itself taut over the detail. This process can be repeated multiple times, each application softening the film a little more until it looks painted on.
For particularly thick decals or prominent details, a chemical approach alone may not be enough. Here, the controlled application of heat can be a powerful ally. A technique favored by advanced modelers, outlined in guides like one from the team at Heresy Brush, involves a hot compress. After an initial coat of setting solution, a cotton bud is soaked in very hot (not boiling) water and then gently pressed onto the decal over the rivet or panel line. The combination of heat and moisture makes the film extremely pliable for a few moments, allowing you to use a dry cotton bud to gently press it down into the recesses. This combination of chemical softening and thermal persuasion is the ultimate technique for achieving a flawless, painted-on look without ever reaching for a hobby knife.
Replicating Hand-Painted Nose Art: Decals or Paint Brush?
Sometimes, despite your best efforts, a decal is simply beyond salvation. It may be too old, too brittle, or the artwork too complex to survive the application process. At this point, the mission shifts from restoration to faithful replication. This is particularly true for the unique, often field-applied nose art that gives a model its soul. The question then becomes: do you seek out a replacement decal, or do you honor the original by replicating it with a paintbrush?
Before making that choice, there is one critical archival step: scan the original decal sheet. Before any attempt at application, laying the sheet on a flatbed scanner and creating a high-resolution (at least 300 DPI) digital copy is the ultimate insurance policy. As one modeler successfully demonstrated, this digital backup of a fragile 1970s decal allowed him to digitally restore the yellowed, cracked artwork and print a perfect new version on aftermarket decal paper. This scan-first approach not only salvages the artwork but often results in a better finish than the fragile original could have provided.
If a replacement decal is unavailable and printing your own is not an option, you can embrace the spirit of the original artists. An ingenious hybrid method uses the shattered remains of the old decal as a perfect placement guide. You apply the broken decal fragments to the model, knowing they are imperfect. These fragments, however, show you the exact size, shape, and location of the original marking. You can then lightly trace their outline with a pencil, remove the decal pieces, and use the traced lines as a template for masking and hand-painting. This technique preserves the historical positioning and scale of the original artwork while replacing the fragile film with durable paint, often creating a result that is more authentic to the hand-painted nature of the original nose art.
How to Identify Quality Injection-Molded Kits Before Opening the Box?
The most effective restoration is the one that is never needed. A true preservationist’s mindset begins not with repair, but with proactive assessment and selection. When purchasing a model kit, especially a vintage one, the quality of the decals is as important as the plastic parts themselves. Learning to spot the signs of decay before you even open the box can save you from the inevitable heartbreak of dealing with unusable markings.
Time, air, light, and temperature are the enemies of a decal sheet. A kit that is “new in box” but has been sitting on a shelf for twenty years is almost guaranteed to have brittle, yellowed decals. This is a lesson many builders learn the hard way. As one veteran collector notes from decades of experience, the age of the kit is a primary indicator of decal health.
After 40 years of modeling, I’ve learned that exposure to air, sunlight, moisture, and temperature swings cause decals to deteriorate. New-in-box doesn’t mean the decals are usable – I now automatically plan to replace decals on any kit over 15 years old… even then, 1980s decals are almost certainly brittle and will shatter during application.
– A Collector’s Experience
Even if you cannot open the box, a careful inspection through the sealed plastic bag can reveal much about the decal’s condition. You are looking for clues about its quality of printing, age, and storage conditions. A high-quality decal from a reputable printer will always be a better starting point than a poorly produced one. By training your eye to spot these indicators, you can make a much more informed purchase and anticipate whether you will need to budget for aftermarket replacements.
- Printer’s Name: Look for a printer credit on the sheet. A name like “Printed by Cartograf” is a hallmark of premium quality and durability.
- Carrier Film Yellowing: Any yellow or brown tint to the clear carrier film is a clear sign of age-related chemical breakdown.
- Color Registration: Examine the colors. If they are misaligned with visible gaps or overlaps, it indicates poor quality control during printing.
- Visible Cracks: Look closely at the ink itself. If you can see a network of fine cracks on the surface, the decal will likely shatter in water.
- Curling Edges: If the decal sheet is curling up at the edges, it indicates it has been exposed to fluctuations in humidity and is likely very dry and brittle.
Key Takeaways
- Preservation over repair: Always reinforce a questionable decal with a liquid film before it touches water.
- Temperature is your ally: Use lukewarm water (77-86°F / 25-30°C) to soften the film and activate the glue effectively.
- Patience is the ultimate tool: Whether unfolding a tangled decal underwater or applying solvents in stages, slow and methodical action prevents disaster.
How to Research a Specific Pilot’s Plane When Official Records Are Missing?
Ultimately, a decal is more than a marking; it is a piece of history. It represents the specific aircraft of a specific pilot at a specific moment in time. When a kit decal is lost, unusable, or simply inaccurate, the dedicated modeler becomes a historical detective. The mission shifts from applying a supplied marking to discovering the authentic truth of the aircraft’s appearance. This pursuit of historical fidelity is the final, and perhaps most rewarding, stage of the preservationist’s craft.
Official records are often incomplete or inaccessible. The most valuable resource in this detective work is often period photography. Historical researchers and modelers alike turn to photographic evidence to verify markings when kit instructions or decals are questionable. This forensic analysis can reveal fascinating details. For instance, close-up photos of WWII aircraft often show that field-applied nose art and kill markings were not perfect stencils, but were roughly hand-painted by ground crews. In such a case, a perfectly printed decal is actually less historically accurate than a carefully hand-painted replication.
This research is a meticulous process of cross-referencing and verification. A single photo is a clue, but multiple photos from different angles are proof. They can confirm the exact placement of squadron codes, the style of the font used for a serial number, or the subtle weathering patterns that tell the aircraft’s life story. This dedication to research ensures that the finished model is not just a representation of a P-51 Mustang, but a faithful tribute to Major George Preddy’s “Cripes A’ Mighty.” When a decal is lost, you have an opportunity to elevate your model from a simple build to a researched historical document. The following steps outline a protocol for this research:
- Document the Loss: Before removing the ruined decal, take high-resolution photos of it for reference.
- Consult Written Histories: Search through squadron histories, pilot memoirs, and unit diaries for written descriptions of aircraft markings.
- Search Photo Archives: Check national and museum archives (like the National Archives or the Imperial War Museum) for photographs of the specific aircraft or squadron.
- Verify with Multiple Angles: Never rely on a single photo. Cross-reference multiple images to confirm the placement, size, and style of all markings.
- Find Aftermarket Replacements: With verified information, search aftermarket decal manufacturers (like EagleCals or Fundekals) who specialize in historically accurate sheets.
- Commission Custom Decals: If no replacement exists, use your research to commission a custom-printed decal sheet from a specialized service.
Apply this restorer’s mindset to your next build. Transform the process from a race against fragility into a patient art of preservation, and your models will not only look better but will carry a deeper connection to the history they represent.